Have you ever walked into a room with beautiful, seamless flooring and wondered, “How did they do that?” Chances are, you were looking at vinyl flooring, a popular and versatile option for homes and businesses alike. But one question often arises: can you lay vinyl flooring directly on concrete? The answer, quite simply, is yes. But the journey from raw concrete to stunning vinyl flooring isn’t always a straightforward one. Buckle up as we delve into the ins and outs of this flooring project, equipping you with the knowledge and confidence to tackle it head-on.

Image: cinvex.us
Imagine this: you’re eager to refresh your basement, dreaming of a space transformed with gleaming, easy-to-clean vinyl. But your basement floor is currently a concrete slab, rough and uneven. The question arises, can you lay beautiful vinyl flooring over this foundation, or will it require a Herculean effort? The good news is, laying vinyl flooring on concrete is often a feasible project, even for DIY enthusiasts. This guide will explore the steps involved, the crucial considerations, and the tools you’ll need, empowering you to make informed decisions for your next flooring project.
Understanding Concrete as a Foundation
Concrete is a versatile building material, offering durability and practicality. However, its inherent nature presents unique challenges when it comes to flooring. Before diving into laying vinyl on concrete, it’s essential to understand the characteristics of this foundation:
- Moisture: Concrete surfaces are naturally porous, meaning they can absorb and retain moisture. This moisture can affect the adhesion of vinyl flooring, leading to warping, bubbling, and potential mold growth.
- Unevenness: Unless an exceptionally smooth concrete pour was achieved, chances are you’ll encounter bumps, dips, and cracks. These imperfections will translate onto your vinyl flooring, creating an uneven and unsightly surface.
- Temperature Fluctuations: Concrete expands and contracts in response to temperature changes. While this is a natural property, it can lead to cracking in the flooring if not properly addressed before installation.
Preparing Your Concrete for Vinyl Flooring
Now that you’re aware of the challenges, it’s time to get acquainted with the solutions. Preparing your concrete surface is the foundation of a successful vinyl flooring installation:
1. Clean and Level the Surface:
- Cleaning: Start by thoroughly cleaning the concrete surface. Vacuum it to remove dust and debris, then mop it with soap and water to eliminate grease and contaminants.
- Leveling: Once clean, assess if the concrete is level. For minor imperfections, use a self-leveling compound, which self-smooths to create a level surface. More significant unevenness might require a concrete resurfacing or grinding technique.
2. Address Moisture Issues:
- Moisture Testing: Use a moisture meter to determine the moisture content of your concrete. This will help determine the appropriate course of action.
- Moisture Barrier: For surfaces with potential moisture problems, a moisture barrier is essential. This can include:
- Vapor Barrier: A thin plastic sheet laid over the concrete before installing the flooring.
- Moisture-Resistant Underlayment: This underlayment acts as a buffer and prevents moisture from reaching the vinyl.
- Allow Drying Time: If moisture issues are present, ensure the concrete dries thoroughly before proceeding with the installation.
3. Priming for Better Adhesion & Protection:
- Primer: Apply a concrete primer to the surface. This primer improves the adhesion of the vinyl flooring to the concrete and strengthens the surface.
Vinyl Flooring Options: Choosing the Right Fit
While you’ve conquered the concrete, the journey doesn’t end there. Now, the fun part—choosing the perfect vinyl flooring for your space! Vinyl flooring offers an array of styles, colors, and textures to suit every taste:
- Sheet Vinyl Flooring: This classic choice offers affordability and seamless looks, with minimal seams. But it can be challenging to install without professional help.
- Luxury Vinyl Tile (LVP): This trendy option resembles real wood or stone, providing durability and water-resistance, making it ideal for high-traffic areas.
- Luxury Vinyl Plank (LVP): Similar to LVP, but comes in longer planks that mimic the look of natural wood, offering a rustic and sophisticated appeal.

Image: cinvex.us
Installation Strategies: Achieving a Seamless Finish
With your concrete prepped and your vinyl chosen, you’re ready for installation. Here are two popular methods:
- Glue-Down Installation:
- Securing the Flooring: This method involves using a strong adhesive to bond the vinyl floor directly to the prepared concrete. It offers a secure and permanent installation. However, proper preparation and a skillful application of adhesive are crucial.
- Floating Installation:
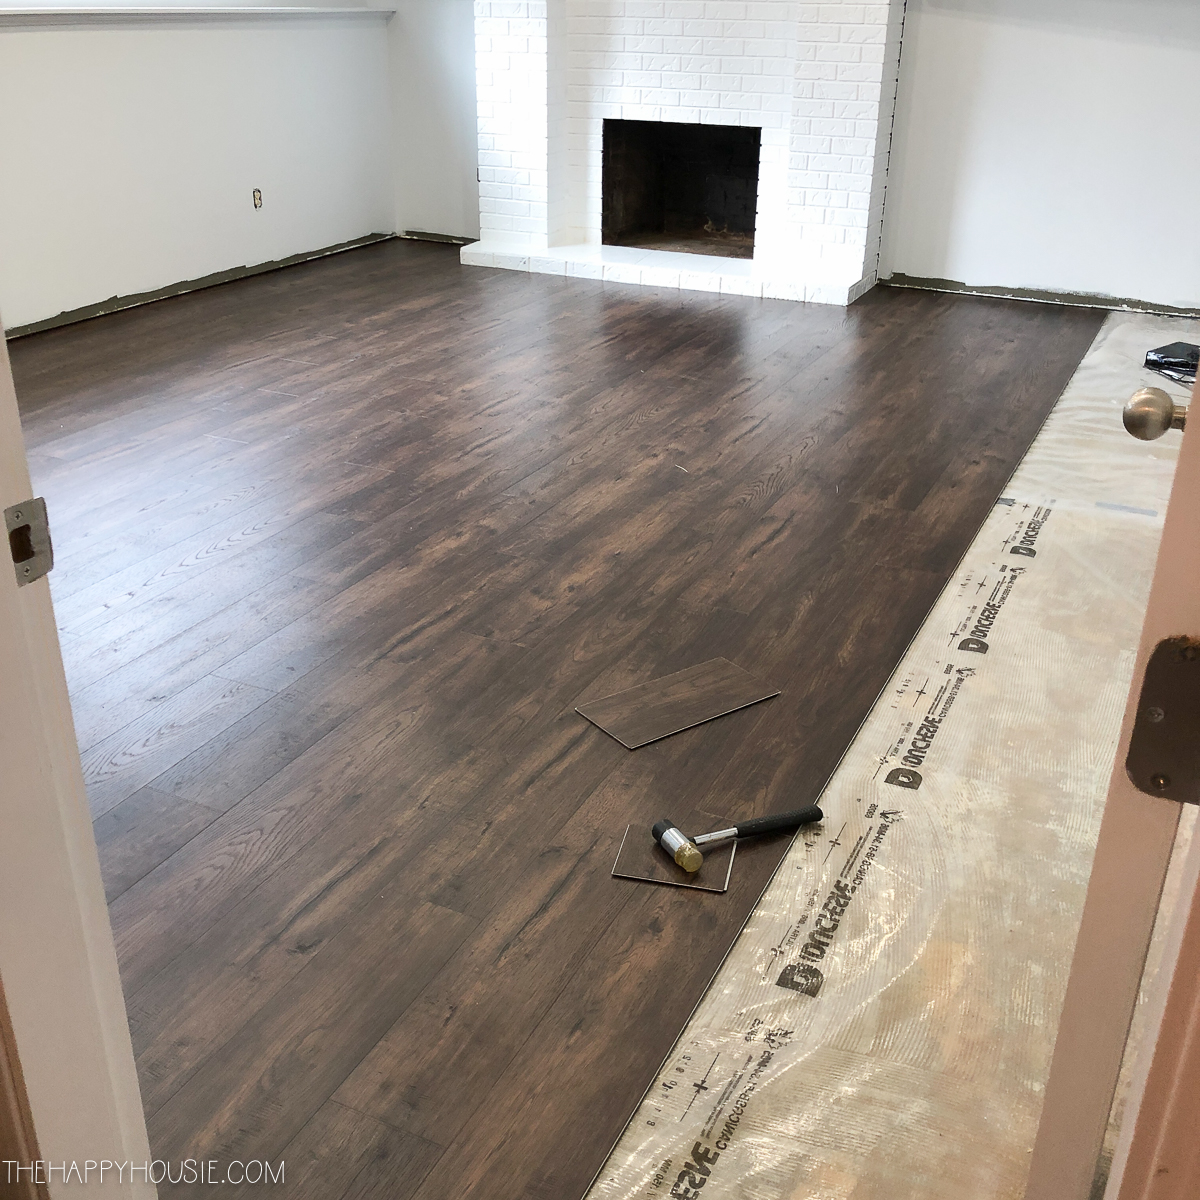
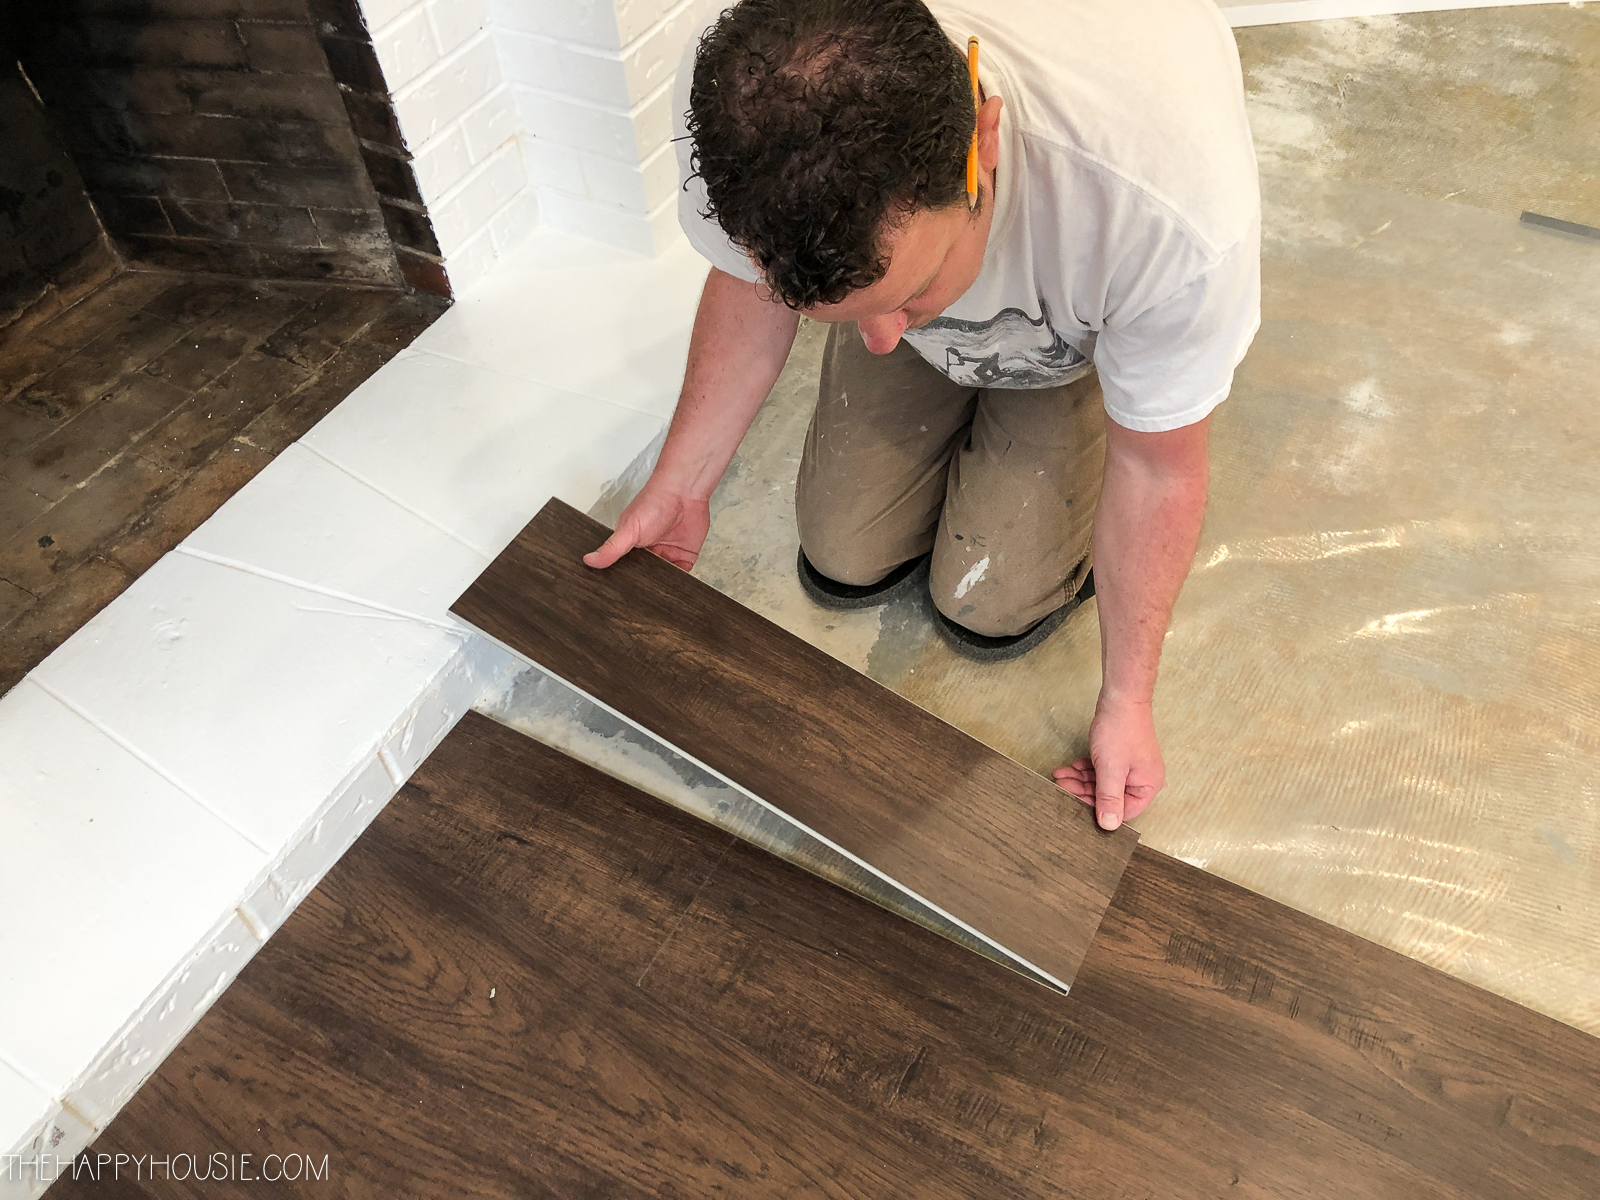
- Click-Lock System: This popular method utilizes vinyl planks with tongue-and-groove edges that lock together, creating a floating floor that sits atop the concrete foundation. The installation process is relatively easy, even for DIY enthusiasts.
Expert Insights for a Flawless Vinyl Floor
- Professional Guidance: For complex projects or large spaces, consider consulting with a flooring professional. They can offer valuable advice and ensure a proper installation.
- Underlayment Considerations: While often not strictly necessary, underlayment can enhance comfort, reduce noise, and provide insulation. It’s especially useful for floating installations.
Can You Lay Vinyl Flooring On Concrete
Conclusion: Turning Vision into Reality
Laying vinyl flooring on concrete isn’t just a project—it’s a transformation. With careful preparation, the right choices, and a touch of patience, you can achieve a stylish and durable finish that enhances your space. Remember, understanding the intricacies of concrete surfaces, selecting the proper vinyl flooring, and employing the appropriate installation methods are key. So, whether you’re embarking on a basement makeover or breathing new life into your kitchen, let this guide empower you to tackle the project with confidence and turn your flooring dreams into reality.
Now, go forth and unleash your creativity!


