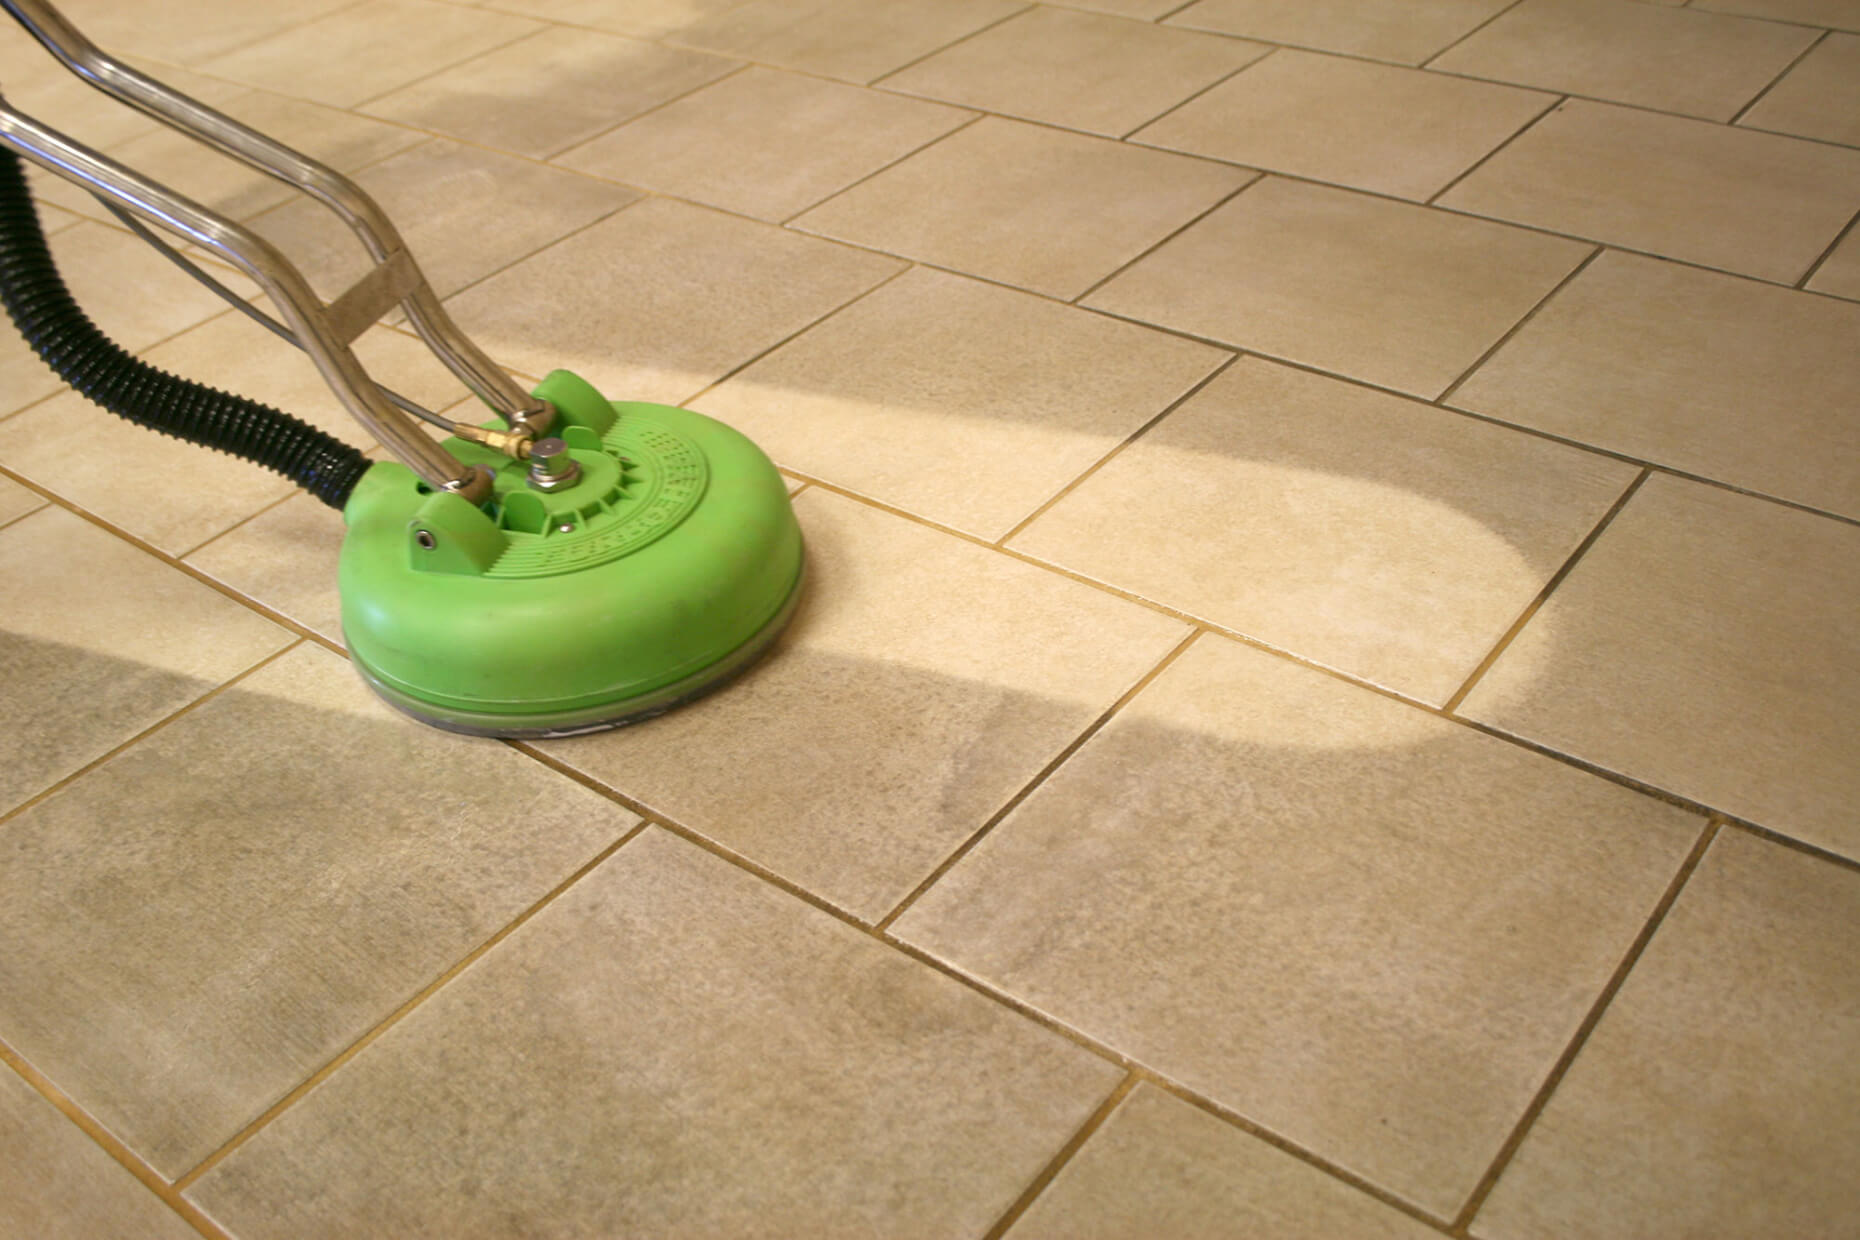
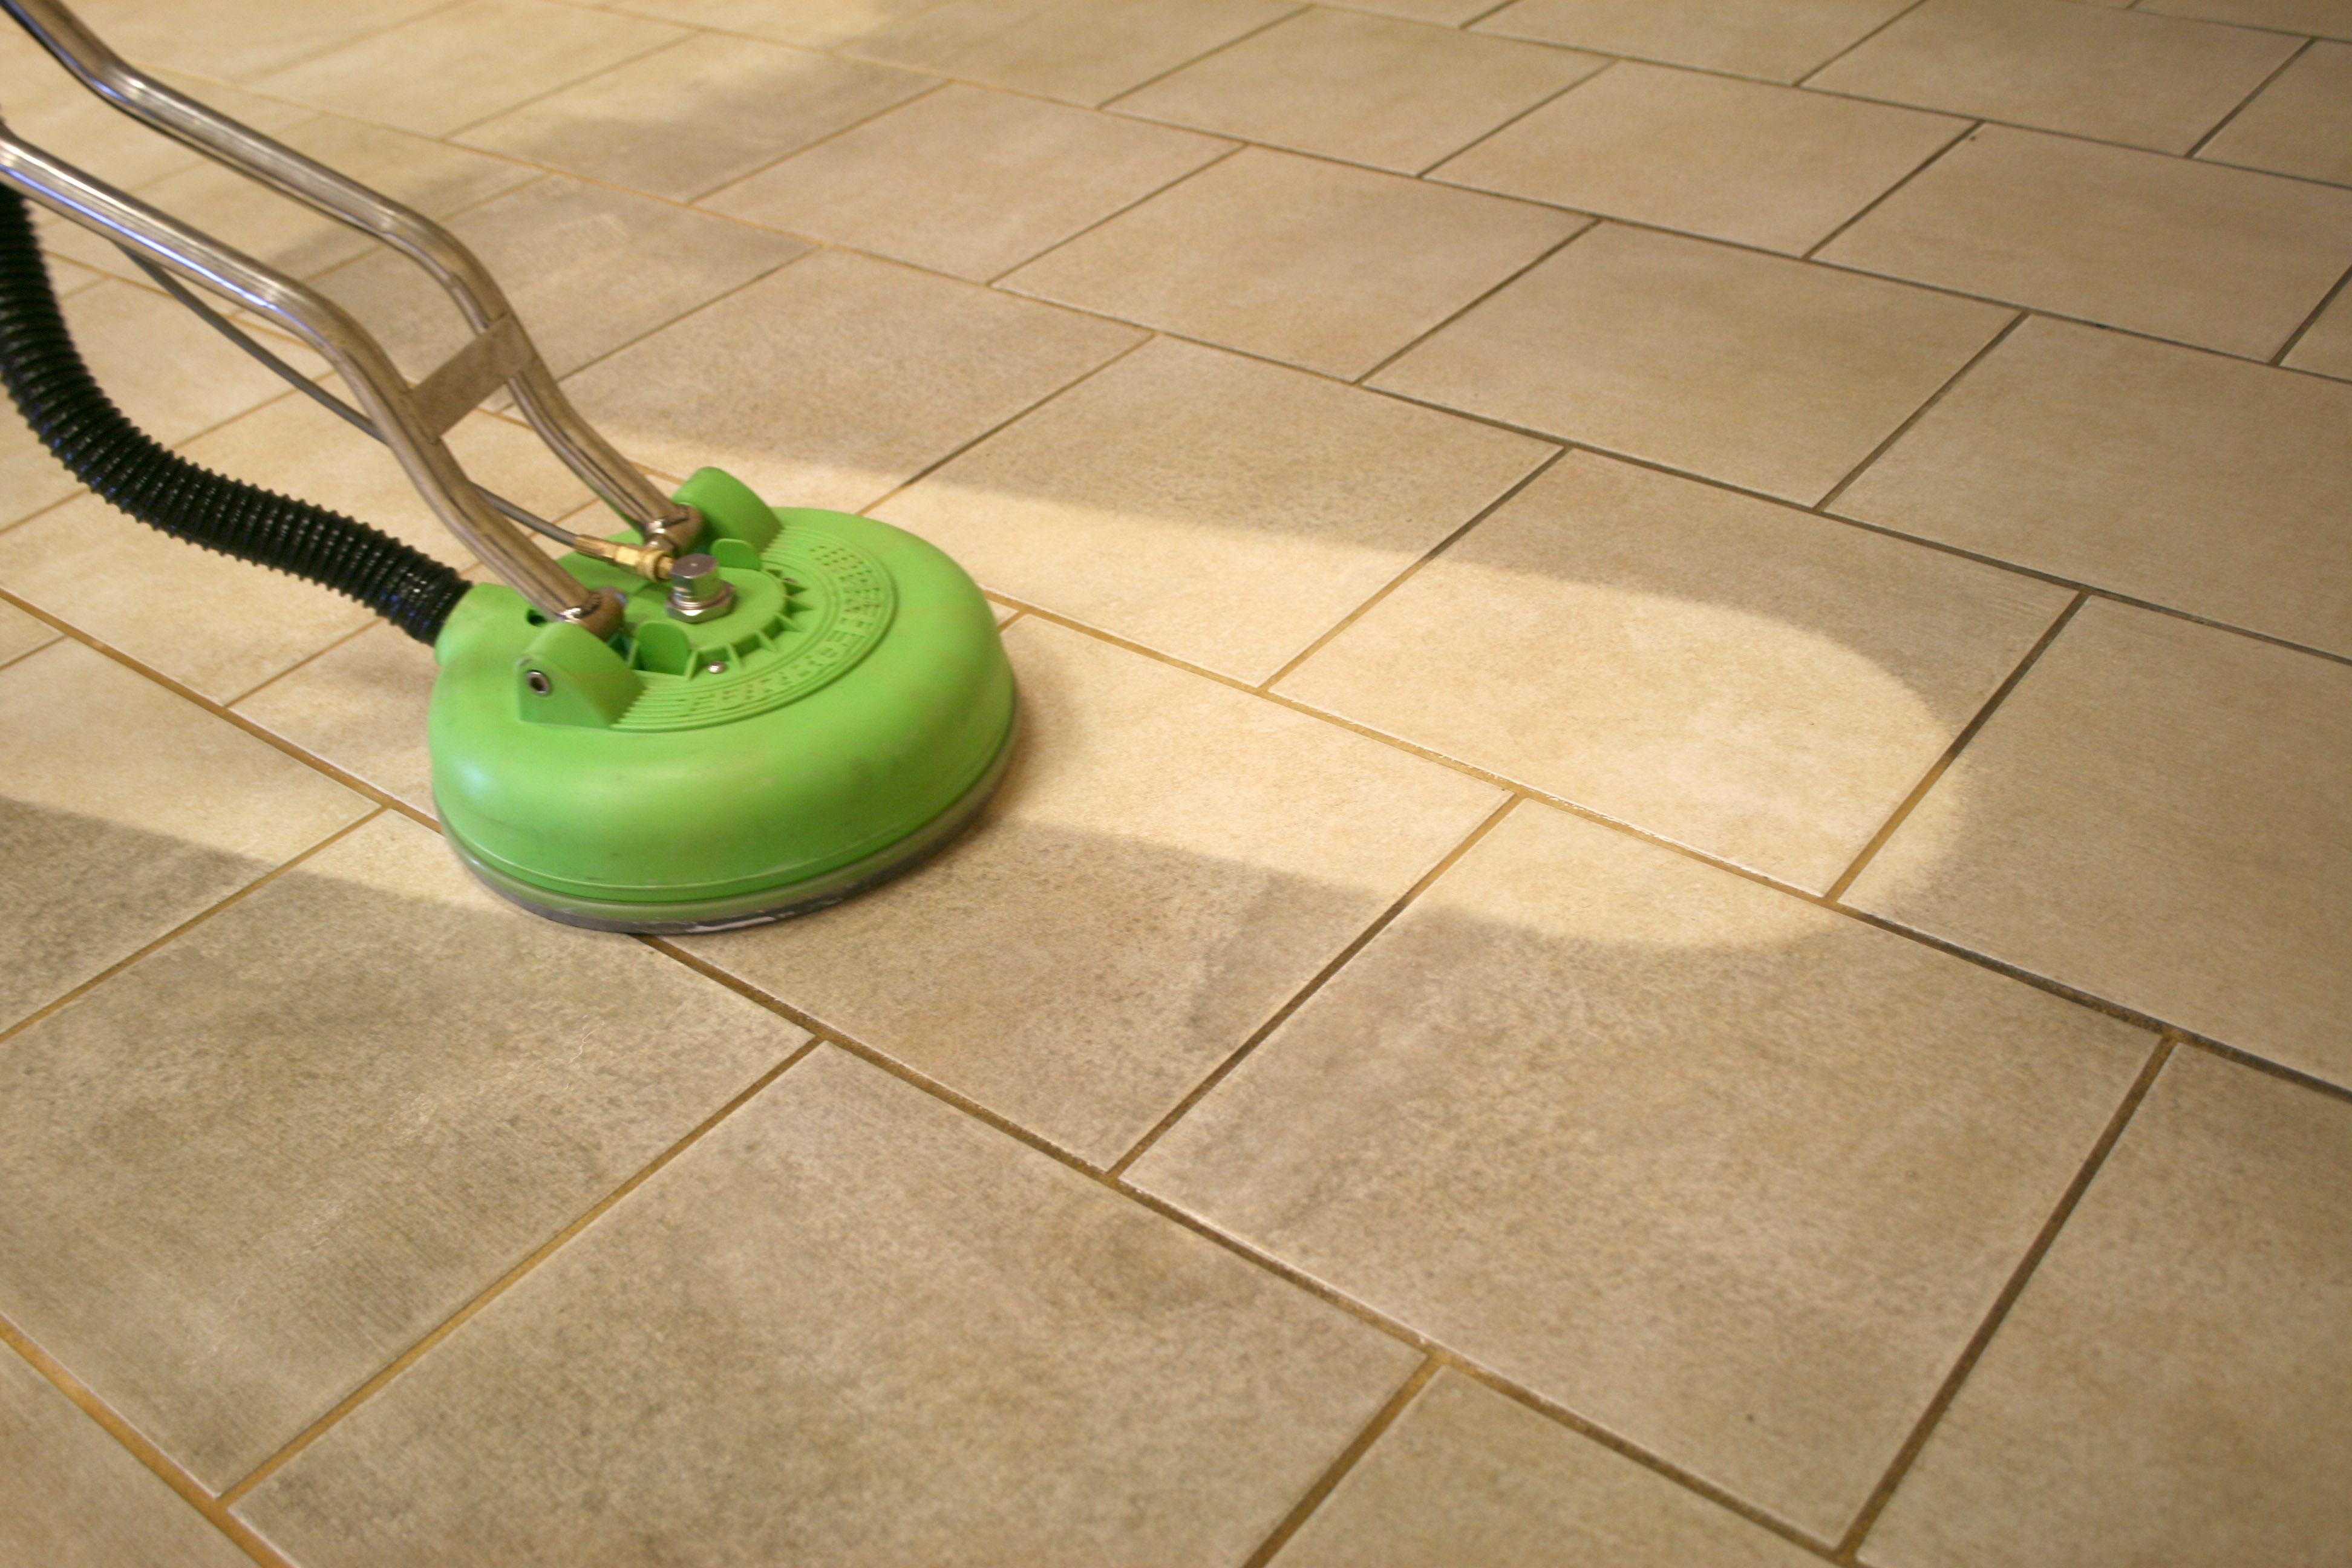
Have you ever looked down at your beautiful tile floors and been dismayed by the dingy, discolored grout? Even the most stunning tile can be overshadowed by grimy grout lines. The good news is, you don’t have to live with this unsightly problem! With a little elbow grease and the right know-how, you can restore your grout to its former glory, making your floors sparkle and shine.

Image: personal-castles.com
This guide is your one-stop shop for everything you need to know about cleaning grout. We’ll cover everything from the basics of grout cleaning to advanced techniques, ensuring you’re equipped to tackle this common home chore with confidence. Get ready to say goodbye to dirty grout and hello to a brighter, cleaner home!
Understanding Grout: The Unsung Hero of Your Floors
Grout, that often overlooked yet crucial element in your tiled floors, serves a vital function. It acts as a sealant, filling in the gaps between tiles, preventing water and grime from seeping into the subfloor, protecting your home from potential damage. Grout also adds a decorative touch, enhancing the overall look of your floors. However, grout is porous, making it susceptible to staining and discoloration over time. That’s where cleaning comes into play.
Essential Tools & Materials for Grout Cleaning Victory
Before embarking on your grout cleaning adventure, gather your arsenal of essential tools and materials:
- Cleaning solutions: We’ll explore various options later in the article, from pre-made grout cleaners to DIY solutions.
- Scrubbing brush: Choose a brush with stiff bristles to effectively remove stubborn dirt and grime.
- Old toothbrush: These are perfect for cleaning those hard-to-reach corners and crevices.
- Bucket: To mix cleaning solutions and hold water for rinsing.
- Squeegee or sponge: For removing excess cleaning solution and water.
- Microfiber cloth: Ideal for drying the grout lines and ensuring a streak-free finish.
- Rubber gloves: To protect your hands from harsh chemicals.
- Optional: Grout sealer to protect your freshly cleaned grout.
A Step-By-Step Guide to Grout Cleaning Glory
Now that you’re all set with your trusty tools, it’s time to dive into the cleaning process. Follow these steps for a grout cleaning success story:
1. Preparation is Key:
- Clear the area: Remove all objects from the floor tiles and surrounding area.
- Sweep or vacuum: Thoroughly sweep or vacuum the floor to remove loose dirt.
- Pre-treat stubborn stains: For tough stains like grease or oil, use a degreaser or stain remover prior to the main cleaning.
2. Choosing Your Weapons: Cleaning Solutions Showdown
-
Pre-made grout cleaners: Many effective pre-made cleaners are available at your local hardware store or online. Look for cleaners specifically designed for grout, as these contain ingredients that can effectively remove dirt and grime without damaging the grout.
-
DIY cleaning solutions:
- Simple mix: For a basic solution, combine equal parts baking soda and water. This concoction gently cleans and deodorizes.
- Powerhouse blend: For tougher stains, try mixing hydrogen peroxide with baking soda to create a paste. Let it sit for a few minutes before scrubbing.
3. The Great Scrub-Down:
- Apply the cleaning solution: Apply your chosen cleaning solution to the grout lines using a brush, toothbrush, or sponge.
- Scrub, scrub, scrub: Use a firm but gentle scrubbing motion to loosen grime and dirt embedded in the grout. Pay extra attention to areas with stubborn stains.
- Rinse and repeat: Rinse the grout thoroughly with clean water, then repeat the cleaning and rinsing process if necessary.
4. Final Touches:
- Dry and shine: Use a squeegee, sponge, or microfiber cloth to remove excess water and dry the grout lines.
- Apply sealant (optional): Sealing your grout can help protect it from future staining and discoloration. Choose a sealer appropriate for your floor type and apply it according to the manufacturer’s instructions.

Image: tahonamoderna.blogspot.com
Expert Insights for Grout-Cleaning Success
Here are some tips from experienced cleaners and grout gurus to elevate your cleaning game:
- Wear a mask: When using harsh chemical cleaners, protect yourself from fumes by wearing a respirator mask.
- Work in sections: Cleaning a large area might feel daunting. Break it down into smaller manageable sections, making the task less overwhelming.
- Use a grout brush attachment: For a quicker and more thorough cleaning, consider using a grout brush attachment for your power drill or a cleaning tool designed for this purpose.
How To Clean Grout Between Floor Tiles
Your Sparkling Floors: A Reward for Your Efforts
Cleaning grout might seem like a chore, but the results are well worth the effort! Your floors will look brighter, cleaner, and more inviting, creating a sense of renewal in your home. Remember, regular cleaning is key to maintaining your grout. By incorporating a quick cleaning routine into your regular cleaning schedule, you’ll prevent dirt and grime from accumulating, keeping your grout looking its best.
So, roll up your sleeves, grab your cleaning tools, and get ready to transform your floors into a shining beacon of cleanliness!


