Imagine walking into your home and being greeted by the warm glow of gleaming wood floors. The smooth, polished surface invites you to kick off your shoes and relax, knowing that the beauty beneath your feet is the result of your own hard work. Achieving this breathtaking look isn’t magic; it’s all about applying poly to your wood floors, a process that can seem daunting but is surprisingly manageable. Ready to transform your floors into a masterpiece? Let’s dive in.

Image: mromavolley.com
Polyurethane, often simply called “poly,” is a protective coating that seals and enhances the natural beauty of wood floors. It creates a durable, moisture-resistant surface that withstands daily wear and tear, ensuring your floors stay stunning for years to come. Think of it as a shield, protecting your floors from scratches, spills, and the inevitable foot traffic of everyday life. We’ll guide you through the entire process, from preparation to application, empowering you to achieve a professional-quality finish.
Preparing Your Wood Floors: The Foundation for Success
Before you even think about wielding a brush, it’s crucial to prepare your wood floors. This step isn’t about rushing through the process; it’s about laying the foundation for a flawless finish. First, you’ll need to clear the room, removing all furniture, rugs, and anything that could obstruct your path. Remember, a clutter-free space makes for a smooth, stress-free application.
Now, here comes the cleaning. Think of it as the “before” photo in a dramatic makeover. Using a wood floor cleaner, meticulously scrub your floors, paying extra attention to any lingering dirt or grease. This step is crucial because a clean surface is the foundation for a strong, lasting bond between your wood floors and the polyurethane.
Sanding Down to Perfection
Once your floors are thoroughly clean and dry, it’s time to unleash the sanding power. This isn’t about stripping your floors bare; it’s about creating a smooth, uniform surface that allows the poly to adhere perfectly. Depending on the condition of your floors, you might need a light sanding or a more aggressive approach. For lighter sanding, a hand-held sander is an excellent choice, while a drum sander can tackle those tougher jobs.
Start with a coarse grit sandpaper to remove any imperfections, then gradually transition to finer grits to achieve a level, smooth finish. Remember, this is all about preparation. A well-sanded surface ensures the poly will spread evenly, creating a uniform, professional-looking finish.
Filling the Gaps: The Importance of Wood Filler
Now that your floors are perfectly smooth, it’s time to address any gaps or cracks. Wood filler is your secret weapon to achieving a flawless final look. Apply it with a putty knife, ensuring it fills the gaps completely. Once the filler has dried, sand it down with sandpaper to achieve a seamless blend with your floor.

Image: jeffrendo.blogspot.com
Choosing the Right Poly: A Journey into Finishes
With your floors prepped and ready, next comes the exciting part: choosing the right poly! Polyurethane comes in a variety of finishes, each with specific properties that suit different needs and preferences.
- Satin Finish: This finish boasts a subtle sheen, offering a balanced blend of beauty and practicality. Its subtle shimmer adds warmth to your floors while still being easy to maintain.
- Semi-Gloss Finish: If you’re after a more pronounced shine, this is the finish for you. It adds depth and warmth to your floors while keeping them relatively easy to clean.
- Gloss Finish: This finish creates a deep, mirrored reflection, adding drama and elegance to your floors. Be warned, however, that gloss finishes tend to showcase imperfections more readily, so ensure your preparation is top-notch.
Applying the Poly: Brush, Roller, or Spray?
You’ve chosen your poly, the stage is set, and now it’s time to unleash your inner artist. Applying poly is like painting a masterpiece, but with a protective twist. There are three primary methods: brushes, rollers, and sprayers.
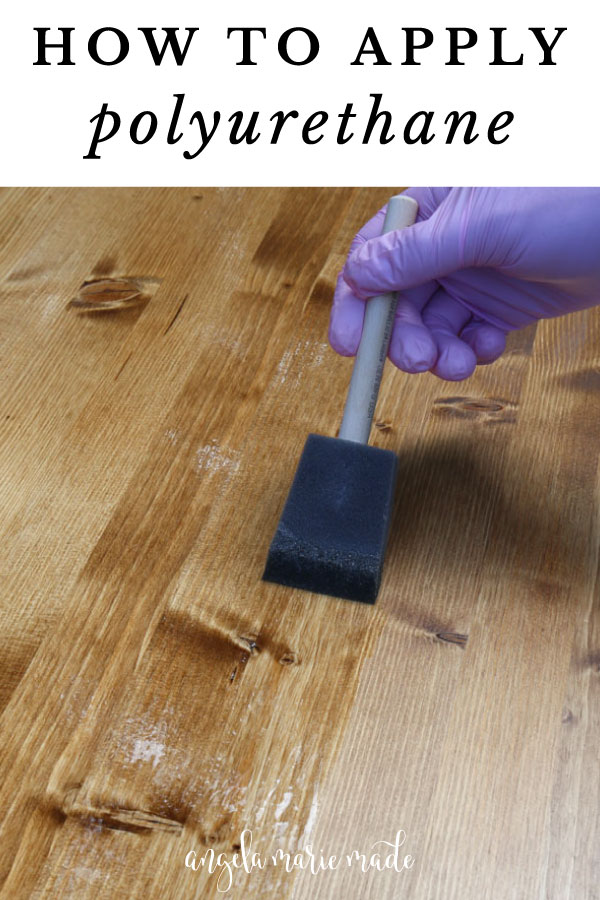
- Brushes: For those who prefer a traditional approach, brushes offer excellent control and are particularly effective for reaching corners and tight spaces.
- Rollers: Rollers are great for covering large areas quickly and efficiently, but they might not be ideal for intricate details.
- Sprayers: Sprayers are the ultimate speed demons, offering a fast and even application, but they require some practice and ventilation to prevent fumes.
No matter your chosen method, remember to apply thin coats, allowing each coat to dry thoroughly before applying the next. Multiple thin coats create a better finish than one thick coat.
Finishing Touches: Bringing Your Vision to Life
With all the layers of poly applied and dried, you’re almost there! The final steps are about sealing in the brilliance and celebrating your accomplishment.
- Sanding: Sanding between each coat is essential to create a smooth, even surface. Start with a fine-grit sandpaper and work your way up to a very fine grit for the final coat.
- Edge Work: Don’t forget the edges! Use a small brush or a damp cloth to apply a thin coat of poly to the edges of your floors, ensuring a complete and lasting protection.
How To Apply Poly To Wood Floors
The Joy of a Finished Project: Your Dream Floors
As you stand back and admire your gleaming wood floors, bask in the satisfaction of a job well done! You’ve transformed your floors from ordinary to extraordinary. With a little patience, attention to detail, and our step-by-step guide, you’ve created a timeless beauty that will enhance your home for years to come. This isn’t just about applying poly; it’s about bringing a personal touch of craftsmanship to your home. Now, go forth, and let your floors shine!


