Picture this: you’re hosting a festive gathering, laughter fills the air, and delicious food is being devoured. Suddenly, a splash of red wine finds its way onto your pristine vinyl flooring. Panic sets in, a dark stain now marring your beautifully crafted space. This is a common scenario that many homeowners face, and it can be quite disheartening. But fear not, because armed with the right knowledge and simple steps, you can banish those pesky stains and restore your vinyl floors to their former glory.

Image: removemania.com
Vinyl flooring, renowned for its durability and ease of maintenance, has become a popular choice for modern homes. However, even this resilient material can fall victim to spills and stains, leaving you with a nagging feeling of imperfection. This comprehensive guide will equip you with the tools and techniques to tackle stains on vinyl flooring, from everyday spills to stubborn messes. We’ll explore a range of solutions tailored to different types of stains, incorporating expert insights and practical tips for effective stain removal.
Assessing the Stain: The First Step to Success
Before diving into the cleaning process, it’s crucial to assess the stain you’re dealing with. Not all stains are created equal, and certain techniques are better suited for specific types of blemishes. Here’s a quick guide to help you categorize the stain:
- Fresh Stains: These are the easiest to remove as they haven’t had time to set into the flooring.
- Dried Stains: These require a bit more elbow grease, as the stain has had time to penetrate the surface.
- Water-based Stains: These are usually easier to clean and can be tackled with simple cleaning solutions.
- Oil-based Stains: These require a bit more care and specific cleaning agents.
- Dye-based Stains: These can be more challenging to remove and may leave some discoloration.
General Cleaning Solutions: Your Go-To for Everyday Spills
For most everyday spills and stains, a simple cleaning solution is often enough to restore your vinyl flooring. Here are some tried-and-true solutions:
1. Soap and Water: The Classic Cleaning Duo
A mild dish soap mixed with warm water can work wonders for removing everyday spills and light stains. Simply dilute a small amount of dish soap in warm water, apply the solution to a soft cloth, and gently scrub the stained area. Rinse the area with clean water and dry thoroughly.

Image: bcfloors.ca
2. Baking Soda: The Gentle Abrasive
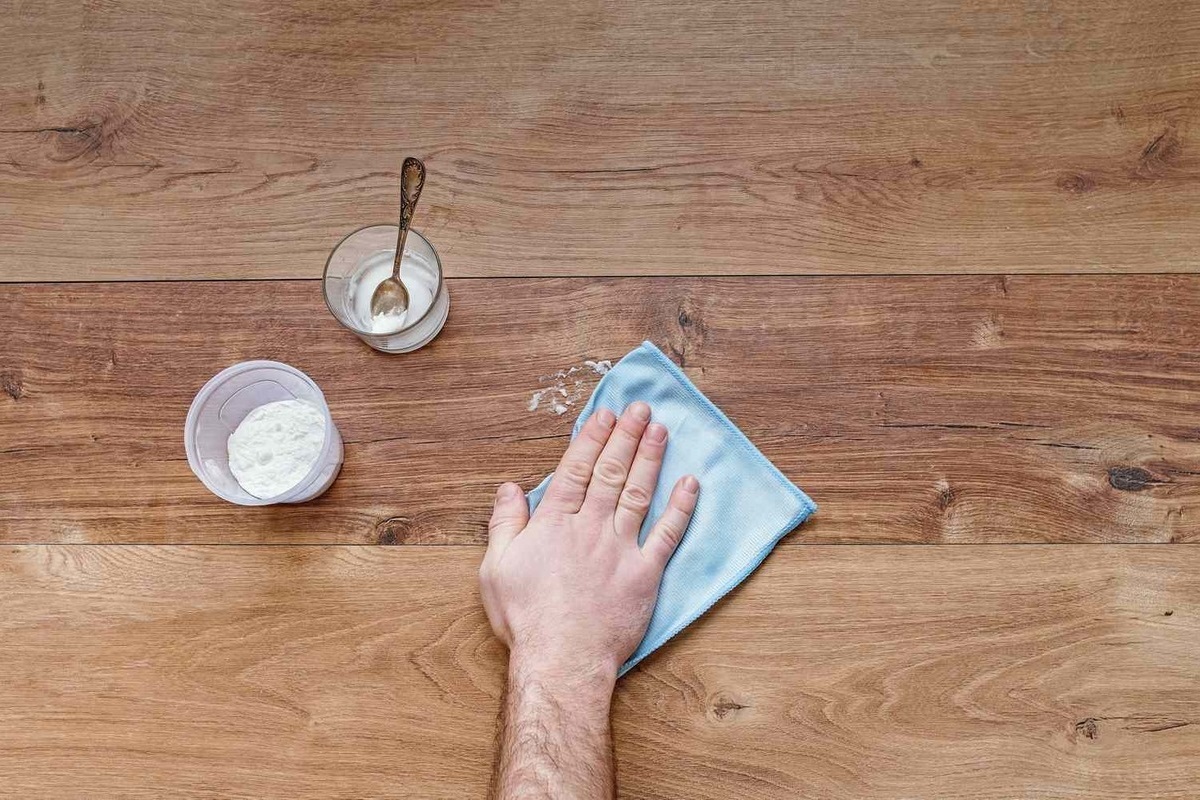
Baking soda is a natural cleaning agent that can effectively tackle light stains. Create a paste by combining baking soda with a small amount of water, apply the paste to the stain, and let it sit for a few minutes. Gently scrub the area with a soft-bristled brush, then rinse with clean water and dry thoroughly.
3. Vinegar: The Natural Stain Remover
White vinegar is a versatile cleaning agent that can effectively tackle a variety of stains. Mix equal parts white vinegar and warm water, apply the solution to a soft cloth, and gently rub the stained area. Rinse the area with clean water and dry thoroughly.
Tackling Stubborn Stains: Advanced Techniques for Tough Challenges
When those everyday solutions don’t quite cut it and you’re faced with a stubborn stain, it’s time to implement more advanced techniques. Here’s a guide to tackling those tough stains:
1. Rubbing Alcohol: A Powerful Stain Fighter
Rubbing alcohol is a potent solvent that can effectively tackle oily stains, ink marks, and even some adhesive residue. Simply dampen a soft cloth with rubbing alcohol and gently rub the stained area. Rinse the area with clean water and dry thoroughly.
2. Hydrogen Peroxide: A Bleaching Solution
Hydrogen peroxide is a mild bleach that can effectively remove stains caused by certain types of dyes or pigments. Apply a small amount of hydrogen peroxide to the stain using a cotton swab, let it sit for a few minutes, then rinse the area with clean water and dry thoroughly. Test on a small, inconspicuous area first to ensure there’s no discoloration.
3. Bleach: The Ultimate Stain Remover (Use with Caution)
Bleach is a powerful stain remover, but it should be used with caution as it can damage certain vinyl flooring materials. Always check the manufacturer’s recommendations before using bleach on your flooring. If allowed, dilute bleach with water according to the instructions, apply the solution to a soft cloth, and gently rub the stained area. Rinse the area with clean water and dry thoroughly. Ventilate the area properly when working with bleach.
Expert Insights: Tips for Stain Prevention
As the old adage goes, an ounce of prevention is worth a pound of cure. By incorporating these expert tips into your daily routine, you can proactively prevent stains from marring your vinyl flooring:
- Clean Regularly: Regular cleaning ensures that spills and dirt don’t have a chance to set in and become tough stains.
- Use Floor Mats: Place mats in high-traffic areas to catch dirt, spills, and debris before they reach the floor.
- Protect from Sunlight: Prolonged exposure to sunlight can cause vinyl flooring to fade or become discolored.
- Use Protective Coatings: There are numerous protective coatings available specifically for vinyl flooring, providing an extra layer of defense against stains and wear.
How To Get Stains Out Of Vinyl Flooring
Final Thoughts: Keeping Your Vinyl Flooring Pristine
With a little care and attention, you can keep your vinyl flooring looking its best for years to come. By understanding different stain types, implementing the right cleaning techniques, and proactively preventing stains, you can confidently conquer any stain challenges that come your way.
Remember, if you’re unsure about a particular stain or need additional guidance, seek advice from your flooring manufacturer or a professional cleaner. By taking a proactive approach to stain removal and prevention, you’ll not only preserve the beauty of your vinyl flooring but also ensure it remains a stylish and functional feature in your home.


