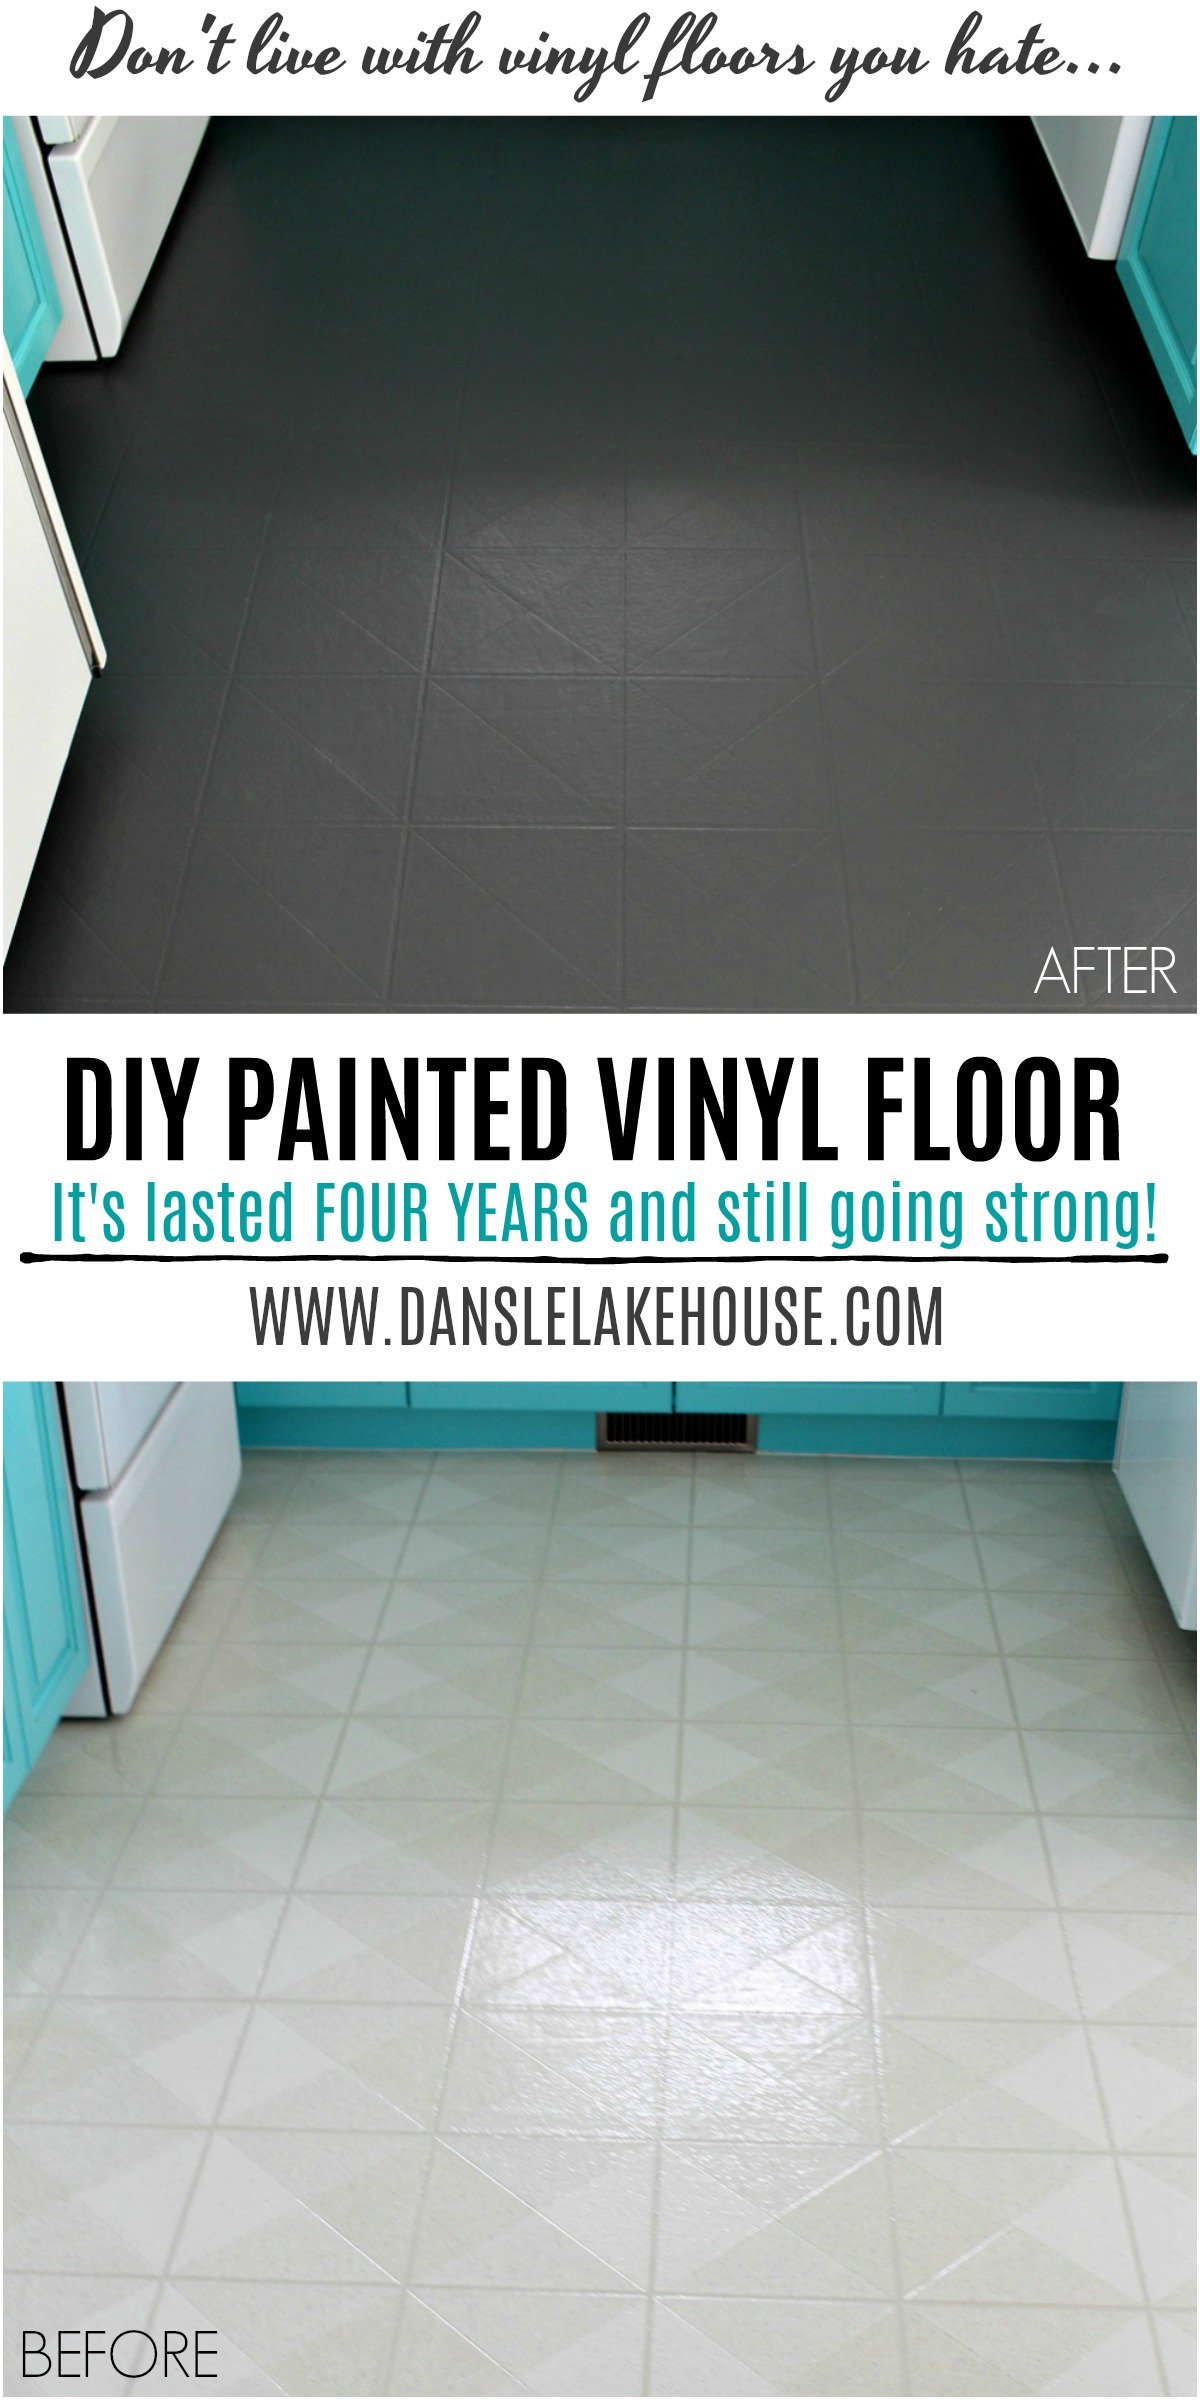
Have you ever dreamed of having beautiful, warm wood floors in your home but been put off by the high cost? Well, what if I told you that you could achieve a similar look without breaking the bank, all thanks to the magic of paint? That’s right, painting your vinyl floors to look like wood is a simple, affordable, and surprisingly effective way to transform any room in your home.

Image: www.danslelakehouse.com
Whether you’re tackling a dated kitchen, refreshing a tired bathroom, or simply looking to add a touch of rustic charm, painting your vinyl floors offers an excellent option. It’s a project that’s achievable for DIY enthusiasts of all skill levels, and the results can be truly stunning. In this article, we’ll guide you through the entire process, from choosing the right paint to achieving a flawless finish, so you can confidently create the wood-look floors you’ve always desired.
Preparing for Your Vinyl Floor Makeover
Before diving into the fun part – painting – you’ll need to lay the groundwork for a successful transformation. Think of it like prepping a canvas before painting a masterpiece. Proper preparation will make all the difference in the final outcome.
Step 1: Cleaning is King
The first step is to give your vinyl floors a thorough cleaning. Anything sticky, greasy, or dusty will interfere with the paint’s adhesion. Use a heavy-duty cleaner specifically designed for vinyl flooring, and be sure to scrub away any stubborn stains or dirt. Don’t forget to let the floors dry completely before moving on to the next step.
Step 2: Patching Imperfections
Now it’s time to address any imperfections in your vinyl floor. This might include minor cracks, dents, or uneven surfaces. Use a vinyl floor patching compound to fill in these imperfections. Apply the compound according to the manufacturer’s instructions, and let it dry completely. Once dry, smooth out any rough edges with fine-grit sandpaper.

Image: www.thefrenchiefarm.com
Step 3: Sanding for Adhesion
To ensure the paint adheres properly, you’ll need to lightly sand your vinyl floors. This creates a rough surface that provides better grip for the paint. Use a medium-grit sandpaper, and work in small sections for best results. Be sure to wear a dust mask during this step to protect your lungs.
Step 4: Protecting Your Surroundings
Now it’s time to protect your surroundings. Cover any furniture, walls, or other surfaces that might get accidentally splattered with paint. This is especially important if you’re working in a smaller room, as paint drips can be tricky to remove. Use painter’s tape to create clean lines and protect areas you don’t want to paint.
Step 5: Priming for Success
Before applying your wood-look paint, you’ll want to prime your vinyl floors. Primer creates a stable base for the paint to adhere to, ultimately enhancing the durability and longevity of your final finish. Choose a primer specifically designed for vinyl flooring, and apply it evenly using a roller or brush. Allow the primer to dry thoroughly before moving on to the next step.
Choosing the Right Paint
When it comes to painting your vinyl floors to look like wood, the choice of paint is crucial. You want a paint that’s durable enough to withstand foot traffic and regular cleaning, and that can mimic the beauty and texture of real wood. Fortunately, there are excellent options readily available for this specific purpose.
A Closer Look at Epoxy-Based Paint
For a truly durable finish that can withstand even the heaviest foot traffic, epoxy-based paint is your go-to choice. This type of paint is known for its exceptional hardness and resistance to scratches, making it ideal for high-traffic areas like kitchens and hallways. Epoxy paint also creates a smooth, even finish that’s easier to clean.
Acrylic Paint: A Versatile Option
Acrylic paint offers great versatility and is generally easier to work with. It dries quickly and is available in an extensive range of colors, allowing you to create a wide variety of wood-look finishes. Despite its versatility, acrylic paint is not as durable as epoxy paint, so it might not be the best choice for high-traffic areas.
Water-Based Wood Stain: Adding a Natural Touch
For a more natural wood look, consider using a water-based wood stain. These stains penetrate the surface, creating a wood grain effect that replicates the natural beauty of real wood. Water-based stains are generally easier to apply and clean up than oil-based stains, making them a great option for the DIY enthusiast.
Applying Your Wood-Look Paint
With your floors prepped and your paint selected, now comes the fun part – actually painting! Take your time and follow these steps for a professional-looking finish.
Step 1: Start with a Base Coat
Begin by applying a base coat of your chosen paint color. Use a high-quality roller for a smooth and even application. Roll in the direction of the grain of the wood you’re trying to mimic. For a rustic look, you can use a brush to create a more textured finish.
Step 2: Build Layers for Dimension
Once your first coat is dry, add more dimension by creating a contrasting effect. You can achieve this by adding lighter or darker shades of your base color. Use a sponge or brush to apply these lighter or darker colors in strategic areas, mimicking the natural variation in wood.
Step 3: Create a Realistic Grain
To truly enhance the wood-look effect, you can use a wood grain stamping tool or create your own custom tool using cardboard or a sponge. Lightly press the tool onto the paint, creating a realistic grain pattern. You can adjust the pressure and direction of the tool to achieve different wood grain styles.
Step 4: Apply a Top Coat for Protection
After your wood-look pattern is complete, apply a clear top coat to protect your painted floor. This will add durability, resist scratches, and enhance the sheen of your finished product. Choose a top coat that’s compatible with your paint and follow the manufacturer’s instructions carefully.
Step 5: Let It Dry and Cure
Once you’ve applied your final top coat, let the paint dry completely. The drying time will vary depending on the type of paint you’ve used, so it’s essential to refer to the paint manufacturer’s instructions. Once the paint is dry, avoid placing furniture on the floor for at least 24 hours to allow the paint to fully cure.
Extra Tips for Success
- Don’t Rush the Process: Allow adequate drying time between each coat. Rushing can lead to uneven coverage or streaks.
- Practice Makes Perfect: Before applying paint to your entire floor, practice on a scrap piece of vinyl flooring. This allows you to experiment with different techniques and perfect your application.
- Go for Quality Tools: Invest in a high-quality roller, brush, and paint tray for a smoother, more professional finish.
- Ventilation is Key: Ensure your room is well-ventilated during the painting process. This helps prevent paint fumes from accumulating and harming your health.
- Seal for Protection: Once your painted floor is completely dry and cured, consider applying a sealant to protect it from moisture and stains. Sealants are especially important in high-traffic areas or rooms that are prone to spills.
How To Paint Vinyl Floors To Look Like Wood
Conclusion
Painting your vinyl floors to look like wood is a rewarding project that can dramatically transform the look and feel of your home. It’s a budget-friendly alternative to replacing your flooring, offering a stylish and durable solution that can create a warm and inviting ambiance. By following these comprehensive steps and incorporating the expert tips we’ve shared, you can confidently embark on this DIY adventure and create wood-look floors you’ll be proud to show off!
So go ahead, embrace your creativity, and let your floors tell a new story. Share your thoughts and experiences in the comments below, and don’t hesitate to ask any questions you may have. Happy painting!


