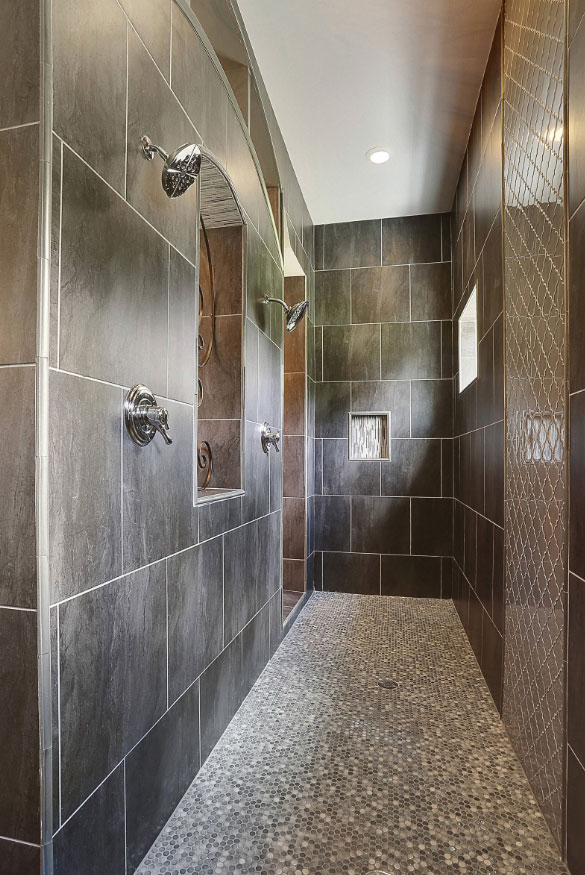
Ever dreamed of stepping into a luxurious, spacious shower without the hassle of a traditional shower stall? Building your own walk-in shower floor is a project within reach, even for dedicated DIY enthusiasts. However, the success of this project hinges on a meticulous approach and careful attention to every detail.

Image: blogszerotwo.blogspot.com
This guide will walk you through the entire process, from planning to finishing touches, empowering you to transform your bathroom into a haven of comfort and ease. So, grab your measuring tape, dust off your tools, and let’s dive into the world of walk-in shower construction!
Planning the Perfect Walk-In Shower Floor
Before you unleash your inner builder, strategic planning is essential. This phase lays the groundwork for a successful project and helps mitigate costly mistakes.
1. Define Your Space and Design:
Measure your existing shower space, considering the surrounding walls and any structural limitations. Sketch a detailed layout including the shower floor area, the drain location, and the overall layout of your walk-in shower. This visual blueprint will become your roadmap, guiding your construction choices.
2. Choose the Right Materials:
The shower floor material plays a crucial role in durability and aesthetics. Common options include:
- Ceramic Tile: A classic choice known for its water resistance, durability, and wide range of styles.
- Natural Stone: Adds a touch of elegance and sophistication, but requires specialized sealing and maintenance.
- Waterproof Concrete: A robust option for heavy-duty showers, often used in commercial spaces.

Image: blog.innovatebuildingsolutions.com
3. Decide on Your Shower Drain:
The drain is the heart of your shower, efficiently directing water away. Choose a drain that complements your shower floor material and aligns with your design. Consider factors like:
- Drain Type: Center drain, corner drain, or linear drain.
- Drain Size: A larger drain handles higher water flow and prevents clogging.
- Drain Material: Options include stainless steel, brass, and plastic.
Building the Walk-In Shower Floor: A Step-by-Step Guide
After thorough planning, it’s time to get your hands dirty and build that dream walk-in shower floor.
1. Prepare the Subfloor:
The subfloor provides a solid foundation for your shower floor. If using existing tile, remove the old tiles and ensure the subfloor is sound and level. For new construction, use plywood or concrete for a stable and durable subfloor.
2. Install the Waterproof Membrane:
The waterproof membrane is a crucial layer protecting your shower from water damage. Common options include:
- Liquid Membrane: Applied as a sealant, this is a flexible choice ideal for curved surfaces.
- Sheet Membrane: Pre-fabricated sheets that are adhered to the subfloor, providing a reliable barrier.
3. Create the Shower Floor Slope:
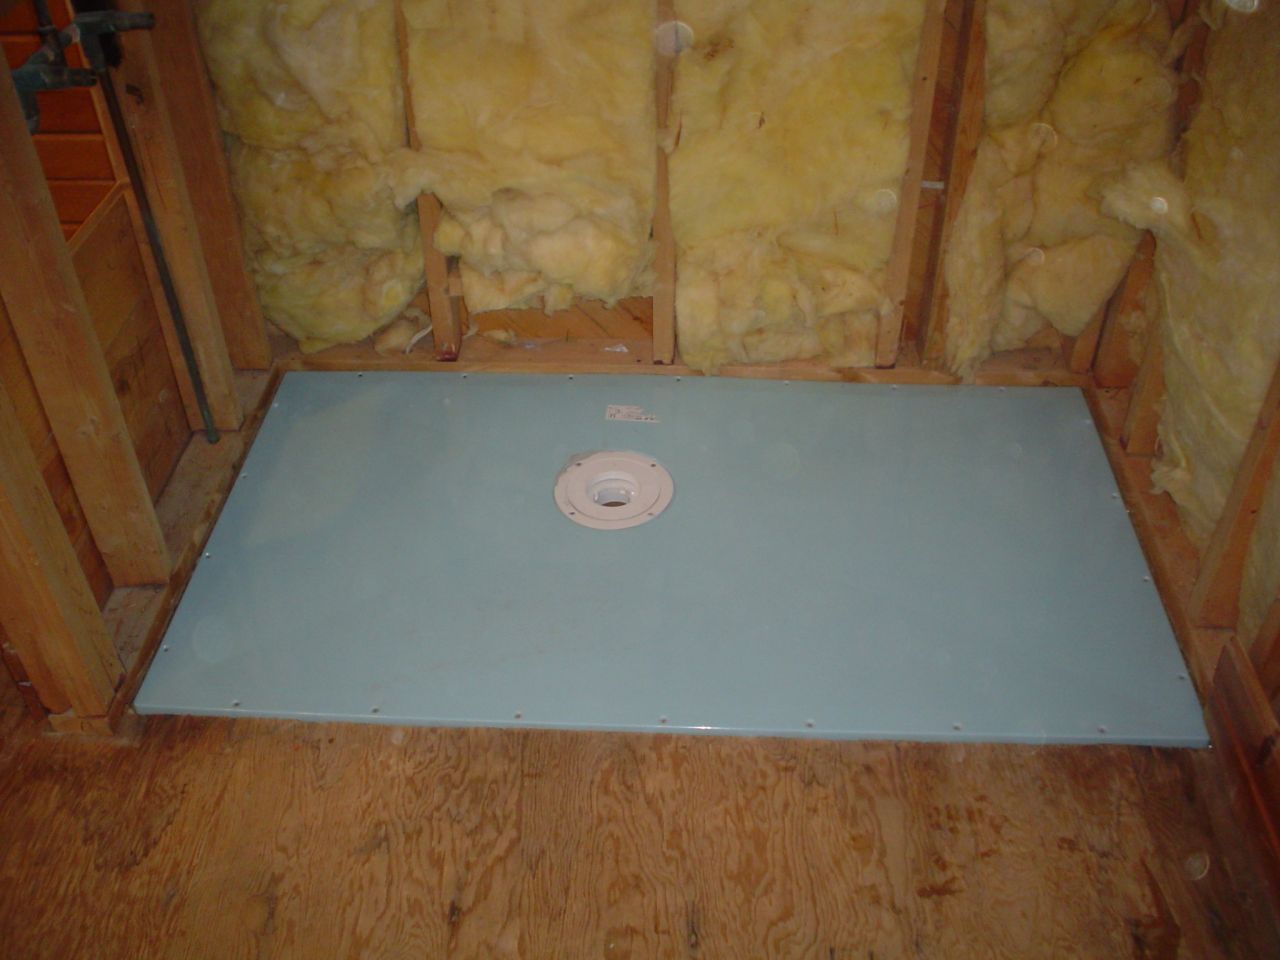
The shower floor must slope towards the drain to ensure proper water drainage. Use a mortar bed or a pre-sloped shower pan to achieve the desired slope. A professional level and a long-reach level will help ensure a consistent and accurate slope.
4. Install the Shower Drain:
Carefully position the shower drain in the center of the slope. Use a drain gasket to ensure a watertight seal and follow the manufacturer’s instructions for proper installation.
5. Lay the Shower Floor Tile:
With the drain in place, it’s time to lay the shower floor tile. Choose a high-quality tile adhesive and apply it evenly to the floor. Carefully position the tiles and use spacers to maintain consistent grout lines. Tilers often opt for larger format tiles or stone slabs for a more contemporary and seamless look.
6. Grout the Tile Joints:
Once the tile adhesive has cured, grout the tile joints for a finished look. Select a grout color that complements your tile and use a rubber trowel to apply it evenly. Wipe away excess grout and allow it to cure completely.
Finishing Touches: Bringing Your Walk-In Shower to Life
The final touches are essential for creating a truly luxurious walk-in shower experience.
1. Install Shower Doors or Enclosure:
Choose shower doors or an enclosure that complements your shower floor design and provide a sense of space and functionality. Glass doors offer a sleek and modern aesthetic, while framed doors provide added durability and stability.
2. Add Shower Accessories:
Shower accessories complete the final touches and enhance functionality. Choose grab bars for safety, showerheads for optimal water flow, and shelves for storage and organization.
3. Seal and Maintain Your Shower Floor:
Regularly sealing your shower floor is crucial for maintaining its water resistance and preventing water damage. Use a silicone sealant to seal the joints between the tiles and the walls, and apply a tile sealer to protect the tile surface.
Considerations for a Successful Walk-In Shower Floor
Building a walk-in shower floor comes with its challenges and requires careful consideration.
1. Safety First:
Always prioritize safety when working with tools and materials. Wear appropriate safety gear like gloves, goggles, and respirators.
2. Water Resistance:
Ensure a watertight seal by carefully installing the waterproof membrane and properly sealing all joints.
3. Accessibility:
For individuals with mobility limitations, consider adding grab bars, non-slip flooring, and a bench seat for added safety and convenience.
4. Professional Assistance:
For complex projects or if you lack experience, consider seeking professional assistance from a qualified contractor.
How To Build A Walk-In Shower Floor
Conclusion: Your Walk-In Shower Dream, Realized
Congratulations on embarking on the fulfilling journey of building your own walk-in shower floor! This guide, combined with meticulous planning and careful execution, will empower you to create a haven of comfort, relaxation, and style in your bathroom. Remember, building a walk-in shower floor is a rewarding experience – a testament to your DIY skills and a stunning addition to your home. With a little patience and dedication, you can transform your shower into a sanctuary that beautifully reflects your personal style and makes every shower a moment of pure indulgence. So, embrace the challenge, enjoy the process, and take pride in your well-deserved results!


