Imagine this: You’re curled up on the couch, enjoying a quiet evening with a good book, only to be jolted awake by the telltale groan of your floorboards every time you move. It’s a common scenario for many homeowners, and while creaky floors might seem like a minor annoyance, they can significantly impact your home’s peace and tranquility.

Image: thehomenix.com
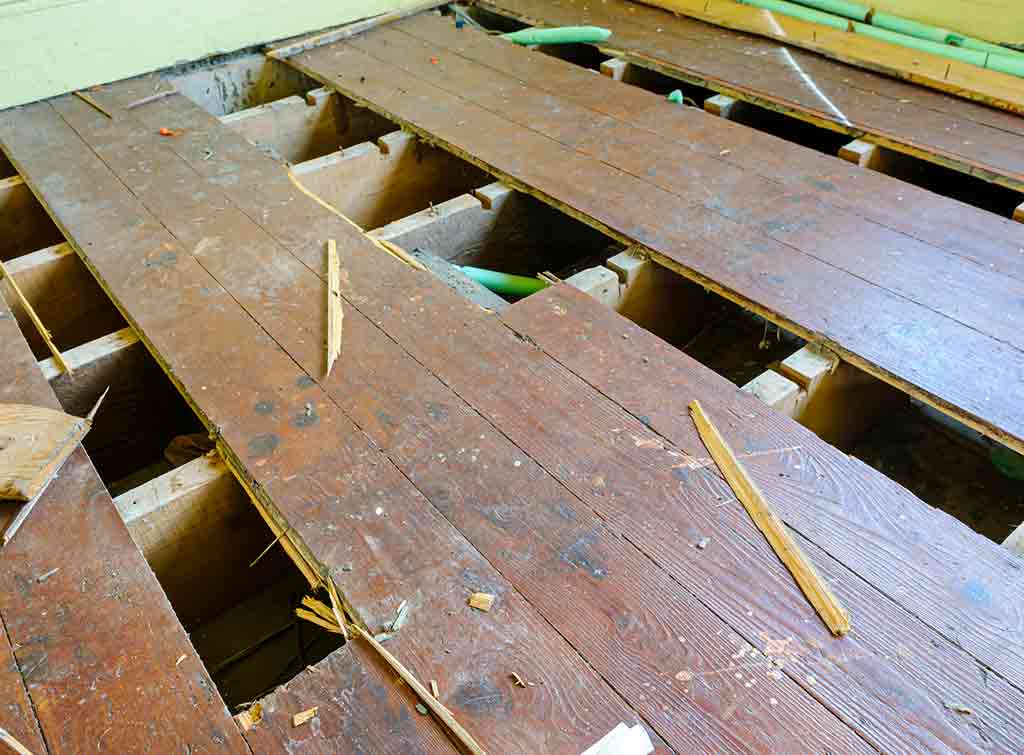
This frustrating problem is often caused by the movement and friction of the wood floorboards beneath the carpet. As the house settles or shifts over time, the floorboards rub against each other, creating those unsettling sounds. But fear not, there are solutions! This guide will equip you with the knowledge and tools you need to silence those creaky floors and restore harmony to your home.
Understanding the Cause of Creaky Floors
Before diving into solutions, it’s helpful to understand the root cause of creaking floors. Here are some common culprits:
- Friction: The most common reason for creaking floors is simply friction between the wood floorboards. As the house settles, the boards expand and contract, causing them to rub against each other.
- Loose Nails: Over time, nails can loosen, allowing the floorboards to move freely and create creaking sounds.
- Wood Movement: Temperature and humidity fluctuations can cause wood to expand and contract, leading to movement and creaking.
- Structural Issues: In some cases, creaking can indicate more serious structural problems, such as sagging beams or foundation issues.
It’s crucial to identify the specific cause of your floor’s creaking before you start fixing it. This will help you choose the most effective approach and avoid further damage.
Diagnosing the Creaking
Here’s a simple way to diagnose your creaky floor:
- Walk Slowly: Carefully walk across the affected area and pay attention to where the noise comes from.
- Apply Pressure: Push down on the floorboards with your hand or foot. If you hear a creak, you’ve located the source.
- Listen Closely: Try to determine whether the creaking is a high-pitched squeaking or a deeper groaning sound. This can help you narrow down the source of the problem.
Tackling the Creaks: DIY Solutions
Don’t rush to call in a professional just yet! Many creaky floor problems can be solved with a few simple tools and some DIY know-how. Let’s explore some tried and true solutions:

Image: mromavolley.com
1. The Fast Fix: Secure Loose Floorboards
If the creaking is caused by loose nails, you can often fix the problem with a few simple steps:
- Locate the Loose Floorboard: Look for the floorboard that makes the noise when you apply pressure.
- Drive in More Nails: Use a nail gun or hammer to drive additional nails into the floorboard, ensuring they reach the joists beneath.
- Use Construction Adhesive: While you can often make do with more nails, construction adhesive can offer a more permanent solution. Apply a small amount of construction adhesive to the edge of the floorboard before driving in the nails.
2. Silence the Squeaks: Adding Friction
Sometimes, adding friction between the floorboards can reduce or eliminate the creaking:
- Using Talcum Powder: Sprinkle talcum powder beneath the carpet and along the edges of the floorboards. The powder will reduce the friction and absorb moisture, helping prevent the boards from rubbing together.
- Applying Wood Glue: Apply a thin layer of wood glue along the edges of the floorboards where they meet. Be sure to clamp the boards together until the glue dries for a more permanent solution.
3. For Stubborn Squeaks: Using a Shims
If you’ve tried the previous methods and the squeaks persist, shims might be your best bet:
- Choose the Right Shims: Wood shims come in varying widths and lengths. Select the appropriate size for your floorboards.
- Insert Carefully: Carefully insert the shim between the floorboard and the joist below.
- Secure the Shim: Attach the shim to the floorboard using a few nails. If you can’t access the joist, use epoxy
4. When More Serious Problems Arise: Subfloor Reinforcements
In some cases, creaking floors may indicate a more significant problem with the subfloor. If you believe this to be the case, don’t hesitate to consult a professional for a proper assessment.
Expert Advice and Best Practices
“Avoid over-driving nails, as this can easily split the floorboards,” advises seasoned carpenter, John Smith. “Remember to always take safety precautions and wear appropriate protection when working with tools.”
It’s essential to consider the following before embarking on your DIY floor-quieting project:
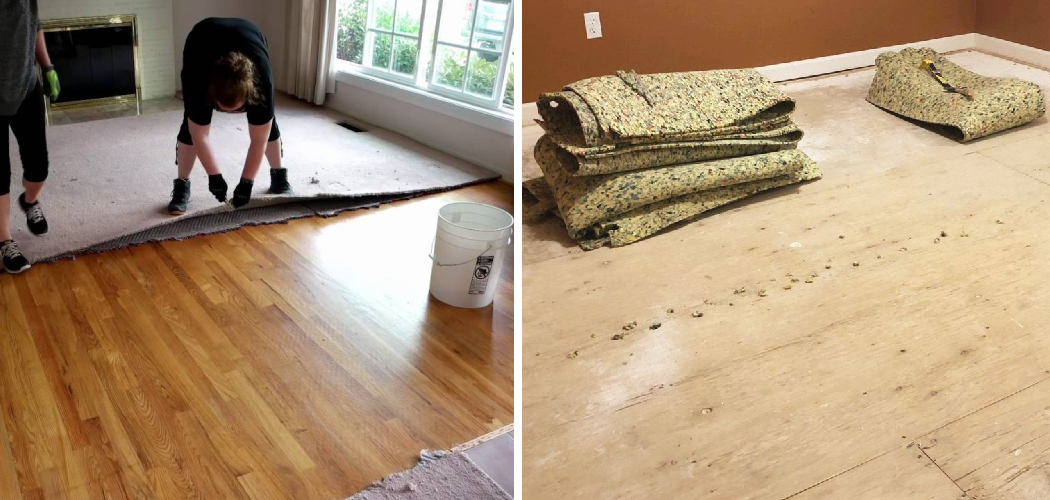
- Carpet Removal: For better results, it’s a good idea to remove the carpet for easier access to the floorboards.
- Safety First: Always wear safety glasses and work gloves while working with tools.
- Professional Assessment: If you’re unsure about the cause of the creaking or feel uncomfortable tackling the repairs yourself, it’s always best to consult a professional.
How To Stop Creaking Floors Under Carpet
Your Quieter Home Awaits
Now, you have the knowledge and confidence to tackle creaky floors in your home. With a few simple DIY techniques, you can restore the peace and quiet you deserve. Remember, patience is key. Sometimes it takes a few trials and errors to find the solution that works best for your specific situation. And always prioritize your safety.
By taking the initiative and following these guidelines, you can transform your creaky old floors into a sanctuary of silence and enjoy the beauty of a quiet home once again. If you’re feeling ambitious, consider adding a touch of personality to your floors by incorporating beautiful area rugs or adding a layer of sound-dampening underlayment.


