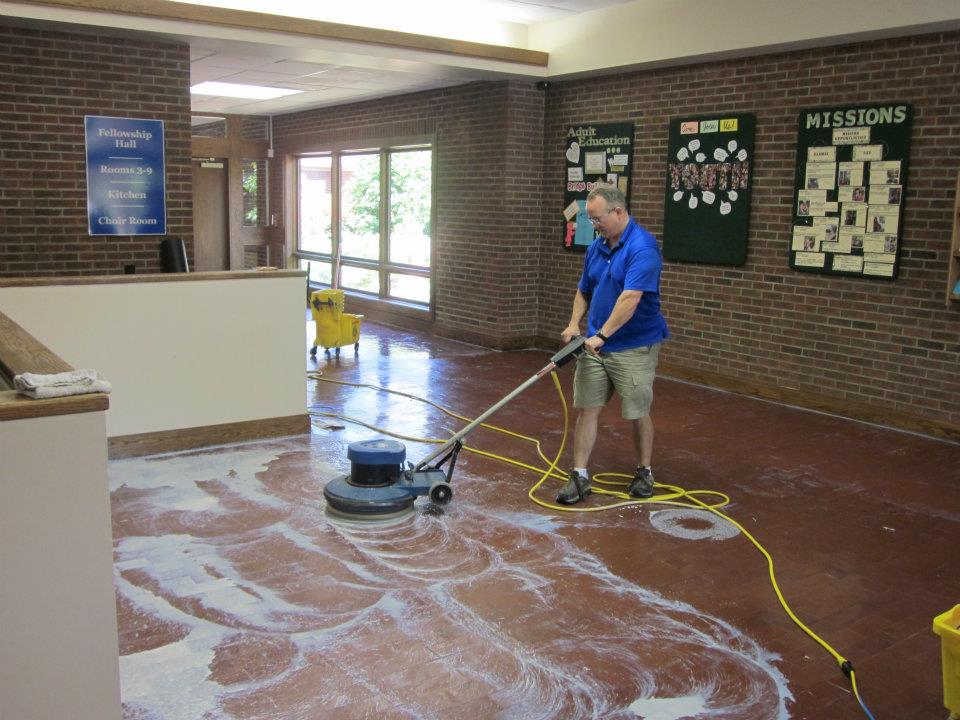
Have you ever stared at your worn hardwood floors, envisioning a gleaming, flawless surface beneath the layers of old finish and grime? Maybe you’ve dreamt of restoring that antique table to its former glory, but the thought of the sanding and stripping process feels daunting.

Image: constructionratings.net
Stripping a floor by hand is a challenging but rewarding endeavor. It requires careful planning, patience, and a fair amount of elbow grease, but the satisfaction of bringing back a floor’s natural beauty is unparalleled. It’s more than just a home improvement project; it’s a journey of rediscovering the history and potential hidden within your own wood.
Preparing for the Stripping Journey:
Before you dive headfirst into the world of sanding and scraping, gather your tools and prepare your workspace. You’ll need:
- Gloves: Protect your hands from the harsh chemicals.
- Safety Gear: Dust mask, eye protection, and earplugs are a must.
- Floor Scraper: For removing stubborn layers of old finish.
- Sandpaper: Different grits for removing old finish and smoothing out the surface.
- Chemical Stripper: Choose a solvent-based stripper for hard-to-remove finishes.
- Putty Knife: For scraping away softened residue.
- Cleaning Supplies: Detergent, water, rags, and buckets for cleaning.
- Drop Cloths: Protect surrounding areas from spills and dust.
The Art of Removal:
Once your tools are assembled, let’s begin the process of stripping:
- Assess the Situation: Inspect your floor thoroughly. Are there any damaged areas or loose boards that require attention? Pay close attention to any irregularities or unevenness you’ll need to address.
- Plan your Approach: Divide the floor into manageable sections, starting with a small area. This allows you to experiment with the stripping process and perfect your technique before tackling the entire floor.
- Prepare the Surface: Thoroughly sweep and vacuum the floor to remove any loose debris or dirt. Clearing the way ensures the stripper can penetrate the finish effectively.
- Applying the Stripper: Follow the manufacturer’s instructions carefully! Apply the stripper in a thin, even coat, working in the direction of the wood grain.
- Let it Soak: Allow the stripper to sit for the recommended time. This softens the finish, making it easier to remove.
- Remove the Finish: Use a floor scraper to gently pry off the softened finish. Don’t force it – a steady hand and patience are key!
- Neutralize the Stripper: Once you’ve removed the majority of the finish, neutralize the stripper with a solution of warm water and neutralizing cleaner. This is vital to prevent lingering residue from damaging your floor.
- Rinse and Repeat: Rinse the floor thoroughly with water and repeat the process as needed. If the finish is exceptionally thick or stubborn, multiple applications may be required.
The Smoothing Touch:
After removing the old finish, it’s time to create a smooth and even surface:
- Sanding: Use sandpaper in progressively finer grits to smooth out the floor. Sand in the direction of the grain to prevent scratches.
- Cleaning and Inspection: Thoroughly clean the floor after sanding, removing dust and debris. This ensures a clear, finished product. Look for any rough spots or imperfections that need attention.

Image: seven.edu.vn
Polishing your Achievement:
Once you’ve stripped and sanded the floor, it’s ready for its final transformation.
- Choosing a Finish: There are countless options for finishing your floor – from oil-based polyurethane to wax. Consider the level of durability and sheen you prefer.
- Applying the Finish: Follow the instructions carefully, applying thin, even coats in the direction of the wood grain. It’s better to apply multiple thin coats than one thick coat, which can lead to bubbling or unevenness.
- Drying and Curing: Allow the finish to dry completely before applying subsequent coats. The curing time varies depending on the type of finish you choose.
Expert Tips:
- Work in small sections: Break the project down into manageable chunks for easier management.
- Stay Hydrated: Stripping a floor is exhausting work. Drink plenty of water and take breaks when needed.
- Ventilation is Key: Work in a well-ventilated area to prevent inhaling harmful fumes from the stripper.
- Patience is a Virtue: The stripping process takes time and effort. Don’t rush it!
How To Strip A Floor By Hand
Conclusion:
The journey of stripping a floor by hand is arduous, demanding your physical endurance, meticulousness, and, perhaps most importantly, patience. But the final result, a floor revitalized and radiating with its natural beauty, is a testament to your dedication and a source of immense satisfaction. Remember, every floor has a story to tell, and with some elbow grease and careful attention, you can unlock its potential, revealing a surface both historically captivating and practically beautiful.


