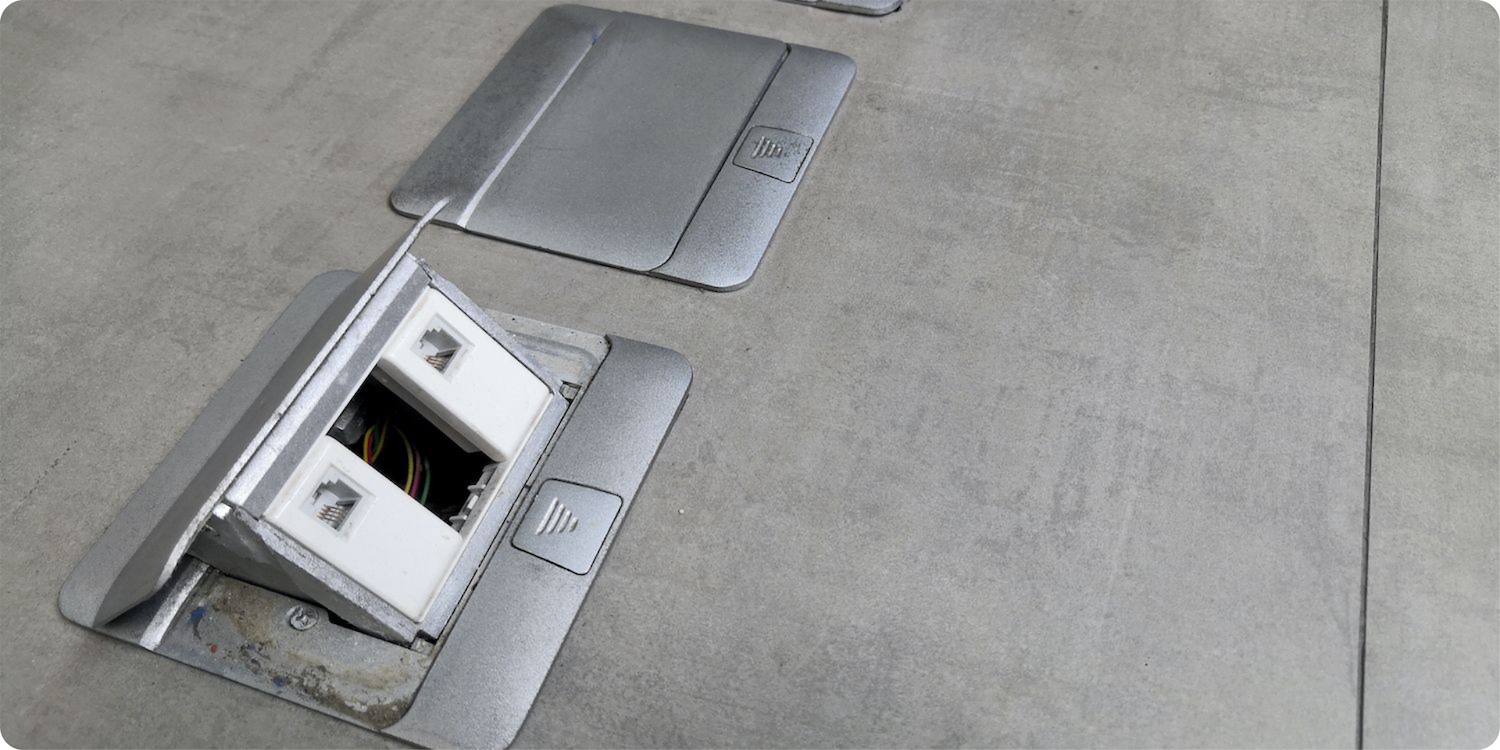
Imagine this: You’re finally setting up your dream home office in the basement, but there’s one major problem – a frustrating lack of power outlets. You’ve got your desk, your computer, and a stylish lamp ready to go, but where will you plug everything in? The answer, in many cases, lies beneath your feet: the often overlooked concrete floor.

Image: viewfloor.co
Installing an electrical outlet in an existing concrete floor isn’t a walk in the park, but it’s certainly achievable with the right knowledge and tools. This guide will walk you through the process, empowering you to tackle this project, add convenience to your home, and potentially increase its value.
Understanding the Steps: A Journey Through Concrete and Wires
Before we begin, it’s important to understand that working with electricity is inherently dangerous. Always prioritize safety, consult a licensed electrician if you have any doubts, and follow local building codes. This guide is intended to provide general information and should not replace professional advice.
1. Planning Your Electrical Outlet Installation
The first step is to design your electrical system. Where will the outlet be located? What kind of appliances will you be powering? These questions will determine the size of the wire needed and the type of outlet to use. Consider the following:
- Location: Think about where the outlet needs to be for optimal access and functionality in your space.
- Power Requirements: Determine the wattage or amperage of the devices you plan to use. A standard 15-amp outlet is suitable for most small appliances, but higher-powered devices (like a refrigerator or heavy-duty tool) may require a 20-amp outlet.
- Circuit Breaker: You may need to add a new circuit breaker to your panel to accommodate the additional outlet. Consult a professional electrician for best practices and safety compliance.
2. Preparing the Concrete Floor
Once you’ve planned your outlet installation, it’s time to prepare the concrete surface. This step involves carefully marking the spot for the outlet, ensuring that it is safe and accessible.
- Locate Existing Wiring: If there are already electrical outlets in the area, you might be able to tap into an existing wire, simplifying the process. However, it’s crucial to identify the correct wire and its gauge to ensure it can handle the load.
- Mark Your Spot: Use a level and pencil to mark the location of your outlet directly on the concrete floor.
- Cut Out the Concrete: Now comes the crucial task of creating a hole for your outlet. This is where things can get messy and require a bit of muscle. Here’s what you’ll need:
- Concrete Saw: This tool is specifically designed for cutting through concrete.
- Hammer Drill: This powerful drill is essential for drilling holes through the concrete.
- Diamond Drill Bit: This specialized bit will ensure clean and efficient drilling.

Image: viewfloor.co
3. Installing the Electrical Box and Outlet
With the hole in place, it’s time to install the electrical box and outlet.
-
Electrical Box: The electrical box is crucial for housing the outlet and providing a secure connection for the wiring.
- Choosing the Right Box: There are various electrical boxes available, including surface mount boxes and recessed boxes. Make sure you choose the right type for your application.
- Securing the Box: The box needs to be securely attached to the concrete. This can be done with screws, epoxy, or specialized concrete anchors.
- Running the Wire: You’ll need to feed the electrical wire through the hole and into the electrical box. This might involve drilling a separate channel for the wire.
-
Outlet Installation: Once the box is mounted, you can install the outlet. This is a straightforward process of connecting the wires to the appropriate terminals and securing the outlet.
4. Testing and Finishing
The final step is to carefully test your installation to ensure it’s functioning correctly.
- Voltage Test: Use a voltage tester to make sure there’s no current running through the wires before you make any connections. This prevents electric shocks.
- Circuit Breaker Test: Once you’ve made the connections, turn on the circuit breaker and test the outlet. If it’s working, you can proceed to the final steps.
- Patching and Finishing: You’ll need to fill in any gaps or cracks in the concrete with patching compound. Once it dries, you can paint or stain the area to match the surrounding floor.
Expert Advice: Making the Installation a Success
Many homeowners have successfully tackled this project. However, a few critical insights can make all the difference.
- Hire a Professional for Complex Work: If you’re working on a larger project or dealing with a complicated electrical system, it’s highly recommended to hire a licensed electrician. They have the experience and tools to ensure safety and compliance.
- Prioritize Safety: Always prioritize safety when working with electricity. Turn off the power at the breaker box before working. Wear appropriate safety gear, such as gloves and eye protection.
Installing Electrical Outlet In Existing Concrete Floor
Conclusion: Empowering Yourself with Electrical Knowledge
Installing an electrical outlet in an existing concrete floor is a challenging but rewarding project. With careful planning, the right tools, and a commitment to safety, you can efficiently and effectively add power to your home. Remember, you can always consult with a professional if you have concerns or need additional guidance. But with the knowledge and confidence gained from this guide, you can tackle this common home improvement project with newfound skill and self-reliance.


