Have you ever gazed longingly at the beautiful hardwood floor beneath a layer of linoleum, dreaming of the day you could finally reveal its natural splendor? Or perhaps you’re looking to update your home with a new flooring style, and the linoleum is standing in the way. Whatever your reason, removing linoleum from your wood floor can sometimes feel like a daunting task. But fear not! With the right knowledge, tools, and a little elbow grease, you can successfully unveil the beauty of your wood floor and breathe new life into your space. This guide will walk you step-by-step through the process, providing tips and techniques to make the removal process easier and safer.

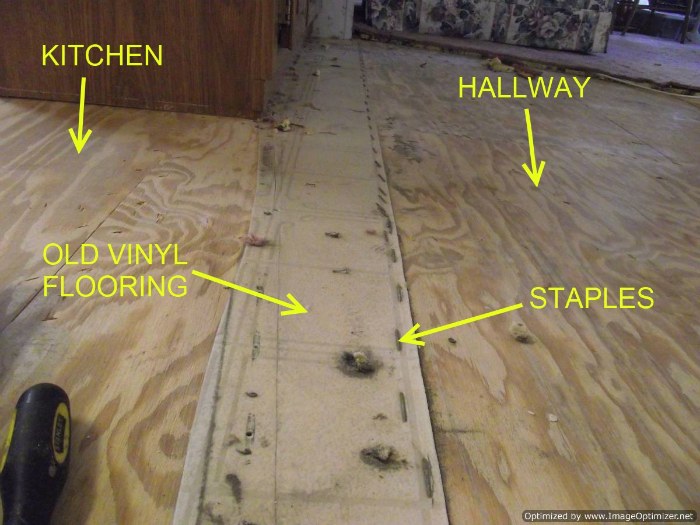
Image: www.laminate-flooring-installed.com
The allure of a beautiful, natural wood floor is undeniable. It adds warmth, character, and timeless elegance to any home. Yet, sometimes, a layer of linoleum hides this treasure beneath its surface. Whether you inherited a home with this flooring combination, or the linoleum just isn’t your style anymore, the desire to bring the natural wood floor back to life is a common one. This guide is your roadmap to removing the linoleum and revealing the hidden beauty that lies beneath.
Preparations for the Journey: Gather Your Tools and Gear
Before diving into the removal process, it’s crucial to assemble the right tools and equipment. This will ensure a smoother experience and minimize any potential hazards. Here’s what you’ll need:
Essential Tools:
- Safety Gear: Safety glasses, work gloves, and a dust mask are crucial for protecting yourself from debris and potential hazards.
- Pry Bar: This tool is essential for lifting and separating the linoleum tiles from the subfloor.
- Utility Knife: A good quality utility knife will come in handy for cutting and trimming the linoleum.
- Hammer: Use a hammer to secure the pry bar and for breaking up stubborn tile sections.
- Screwdriver: A screwdriver is needed to remove any screws holding down baseboards, moldings, or other components.
- Bucket: A sturdy bucket is required to collect and dispose of linoleum scraps.
- Trash Bags: Use heavy-duty trash bags to dispose of the linoleum remnants responsibly.
- Floor Scraper: For stubborn glue or adhesive residues, a floor scraper can help remove it effectively.
- Vacuum: A powerful vacuum cleaner will be needed to remove debris after the removal process is complete.
Optional Tools:
- Circular Saw: For larger areas of linoleum, a circular saw may be helpful for cutting through the material.
- Power Drill: A drill with a screwdriver bit can help remove stubborn screws.
Unleashing the Beauty: Step-by-Step Removal Process
Now, let’s delve into the step-by-step process of removing linoleum:
-
Prepare the Room: Start by clearing the room of furniture and belongings. Remove any curtains or drapes, and cover nearby areas to protect them from dust and debris. This step helps you focus on the task at hand and ensures a safer work environment.
-
Protect Yourself: Safety first! Wear safety glasses, work gloves, and a dust mask to protect your eyes, hands, and respiratory system.
-
Evaluate the Linoleum: Take a closer look at the linoleum. Does it appear to be adhered to the subfloor with adhesive, or is it held in place with clips or other fasteners? This assessment will help you determine the best approach for removal.
-
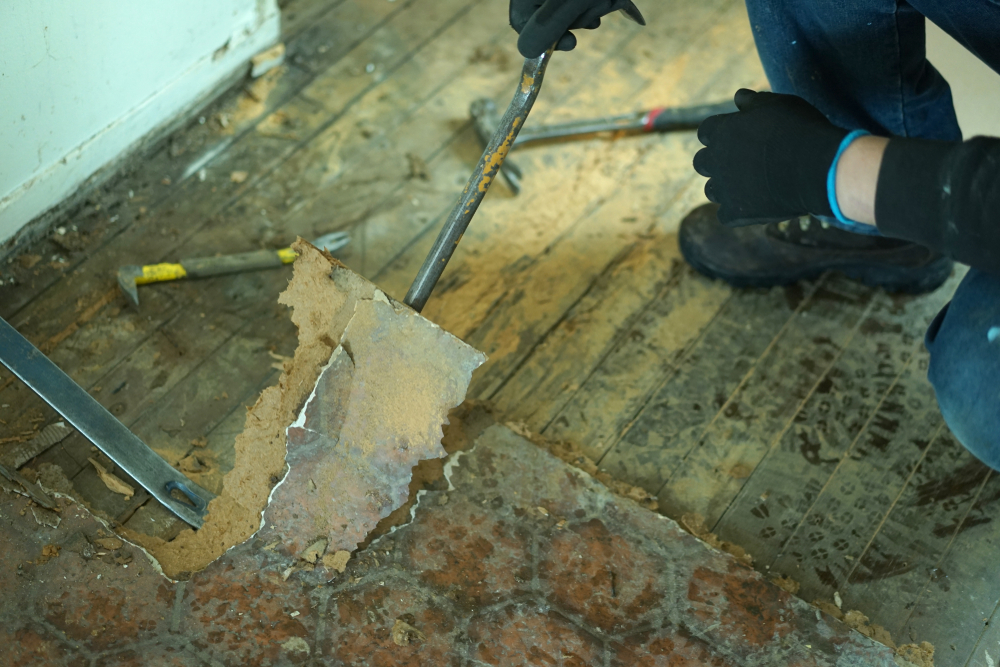
Begin at the Edges: Start by gently prying up the linoleum from the edges. Work from one corner or edge of the room, gradually removing the linoleum in sections. If the linoleum is adhered down, you can use a pry bar to loosen it. Be careful not to damage the wood floor underneath. Use a utility knife to trim around obstructions. This may require patience.
-
Address Adhesive: If the linoleum is glued to the subfloor, you may need to use a specialized adhesive remover. Always test the remover in an inconspicuous area first to ensure compatibility with your wood floor.
-
Take it Slowly: Work slowly and methodically, using a pry bar to lift the linoleum and a utility knife to cut through it. The linoleum may come up in large pieces or smaller sections.
-
Clean the Subfloor: Once the linoleum is removed, thoroughly clean the subfloor. Use a floor scraper to remove any remaining adhesive residue. You can also use a solution of warm water and vinegar to remove stubborn glue residue.
-
Repairing the Wood Floor: After removal, inspect the underlying wood floor for any damage. Any minor imperfections can be sanded down and patched with wood filler.
-
Final Touches: After removing all linoleum and cleaning the subfloor, vacuum the area to ensure it is debris-free.
-
Prepare for Refinishing: Once the linoleum has been successfully removed, your wood floor may need to be refinished. This will help restore its shine and protect it from further damage.
Expert Tips & Techniques for Succesful Removal:
Expert Tip 1: Consider the Age and Style of the Linoleum: Linoleum can be installed in various ways. The way it is installed can affect the difficulty of removal. Older linoleum is often glued down, while newer linoleum may be installed with clips or fasteners, making removal easier.
Expert Tip 2: Hiring a Professional: If you’re unsure about removing the linoleum yourself, it’s best to hire a professional. A professional flooring contractor has the experience, tools, and expertise to safely remove the linoleum without damaging your wood floor.

Image: tooldigest.com
Best Way To Remove Linoleum From Wood Floor
Conclusion: Unleashing the Beauty and Potential of Your Wood Floor
Removing linoleum from your wood floor is a rewarding and transformative project. It allows you to unveil the beauty of the wood floor beneath and create a stunning and inviting space in your home. We encourage you to take your time, follow this guide, and embrace the journey of uncovering the potential that lies beneath the linoleum. The transformation will be worth the effort!


